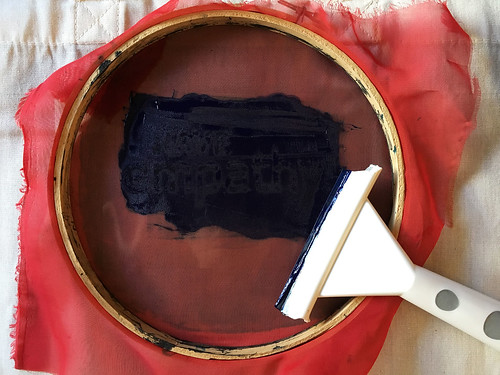
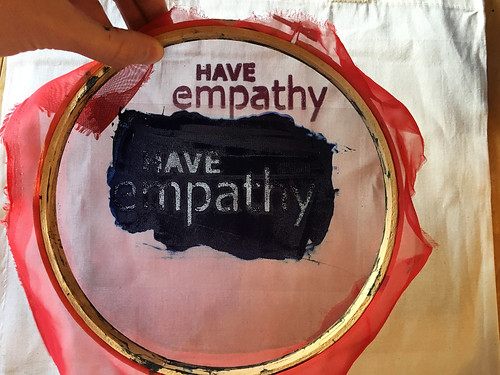
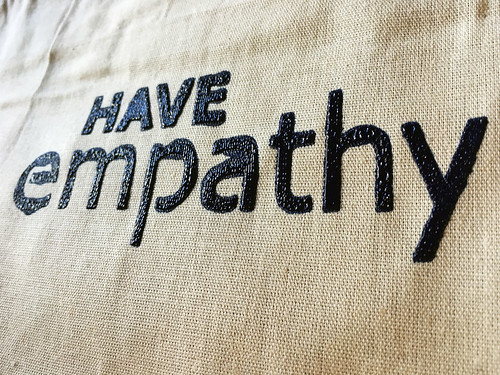
I’ve thought of 2023 as Senior Year of the pandemic. Not because there’s any graduation or ending in sight, just because it was the fourth year, and I feel like we’ve all grown and changed so much since 2020, or Freshman Year. 2023 was a bit rough—it’s the year I finally got covid—and it’s also been, like, the year of finally feeling like we’re living normally within the new post-2020 world. First vacation since 2019, regularly going to movie theaters since we stopped in March 2020, working in the office part-time throughout the whole year.

This is also the year I spent a long time re-thinking, re-designing, and finally re-launching this blog. There aren’t a ton of new posts yet, but I think it’s going okay so far. I’d made plans to “start blogging again” a couple of times over the years… and that never really worked out, as you can see by scrolling through my one single post in 2018, then one single post in 2019, then, well, nothing until I redesigned it last year. So that’s one big project I did in 2023! Restructuring my websites too—now that the year has come to an end, my old web server space (that I’d been paying for since December 2003, yes TWO THOUSAND THREE) is finally cancelled and leethalknits.com is no more, so I have plans to repost a lot of my old knitting tutorials that lived there here on this blog this year. Anyway, big change for me, no longer having that web space.

In other genres of making… knitting! I kind of returned to knitting / knit-designing for work a bit this year, which is awesome and I love it! I still do graphic design for all the books and patterns for Knit Picks (I’ve designed 61 books/ebooks total now! SIXTY ONE <surprised face emoji!>) but we’ve been cutting back a bit on books and I’ve now had time to also regularly design free knitting patterns for Knit Picks!

I designed a bunch of hats in the last year and really enjoyed doing it! Hope for a lot more to come in the future. You can see all the patterns I’ve done for KP (most free, a few paid) on ravelry or Knit Picks, or I have a page on my payhip site where I list them (but that’s not always up to date).

For work, I am also the cohost of the Knit Picks Podcast, which comes out twice a month most of the year (with short hiatuses in summer and for the holidays right now). I always chat with Stacey about what knitting projects I’ve been working on, so give that a listen if you’re into that kind of thing. (We also interview people and have other coworkers join us.) I’ve chatted a lot about starting new sweaters without finishing ones I already have on the needles, but lately I’ve been trying to finish some for the end of the year!

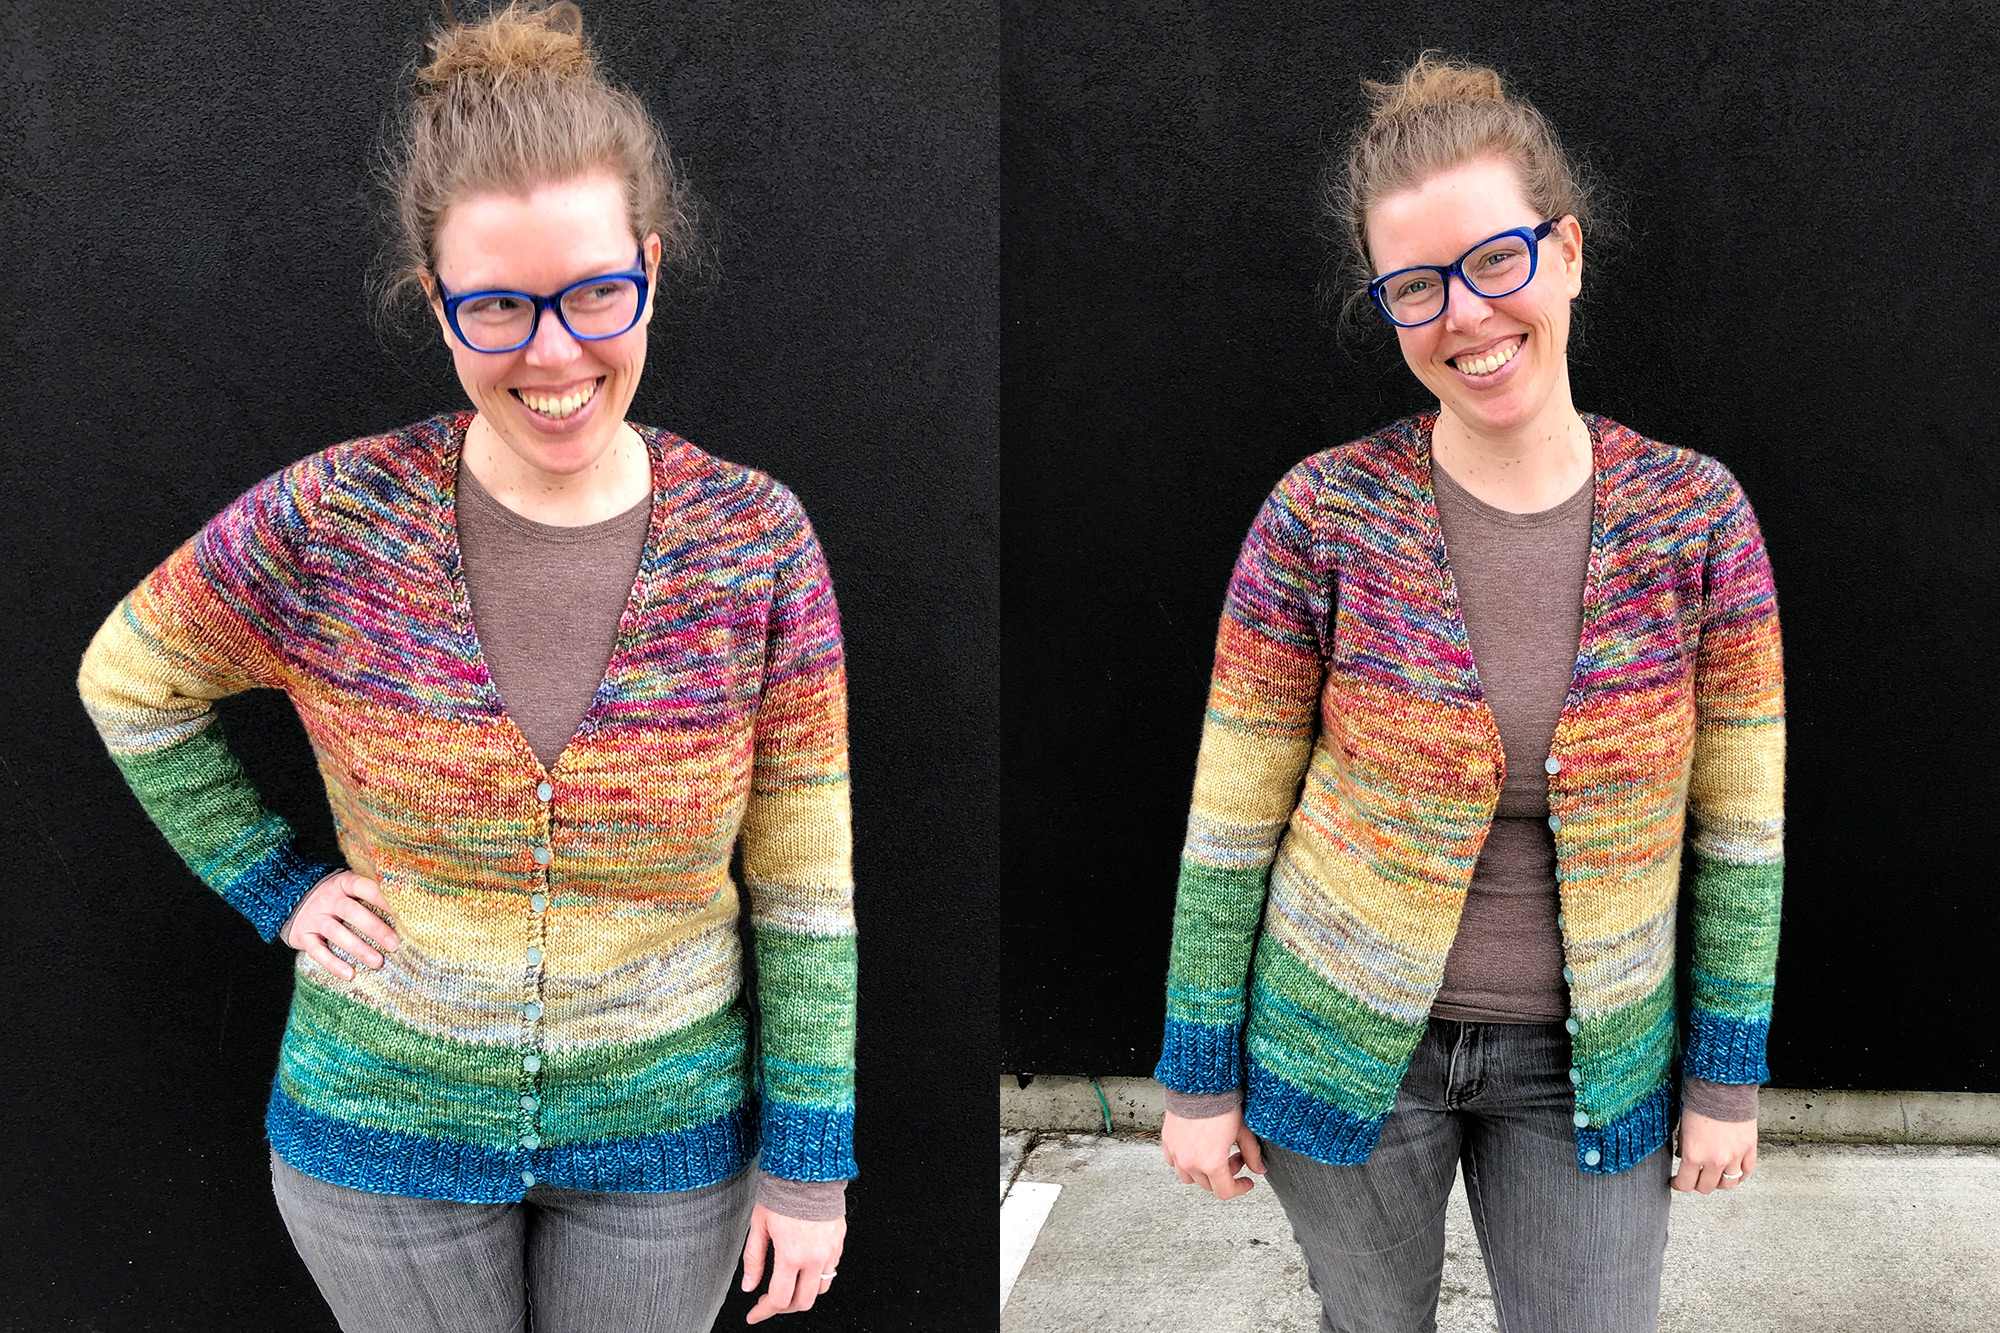
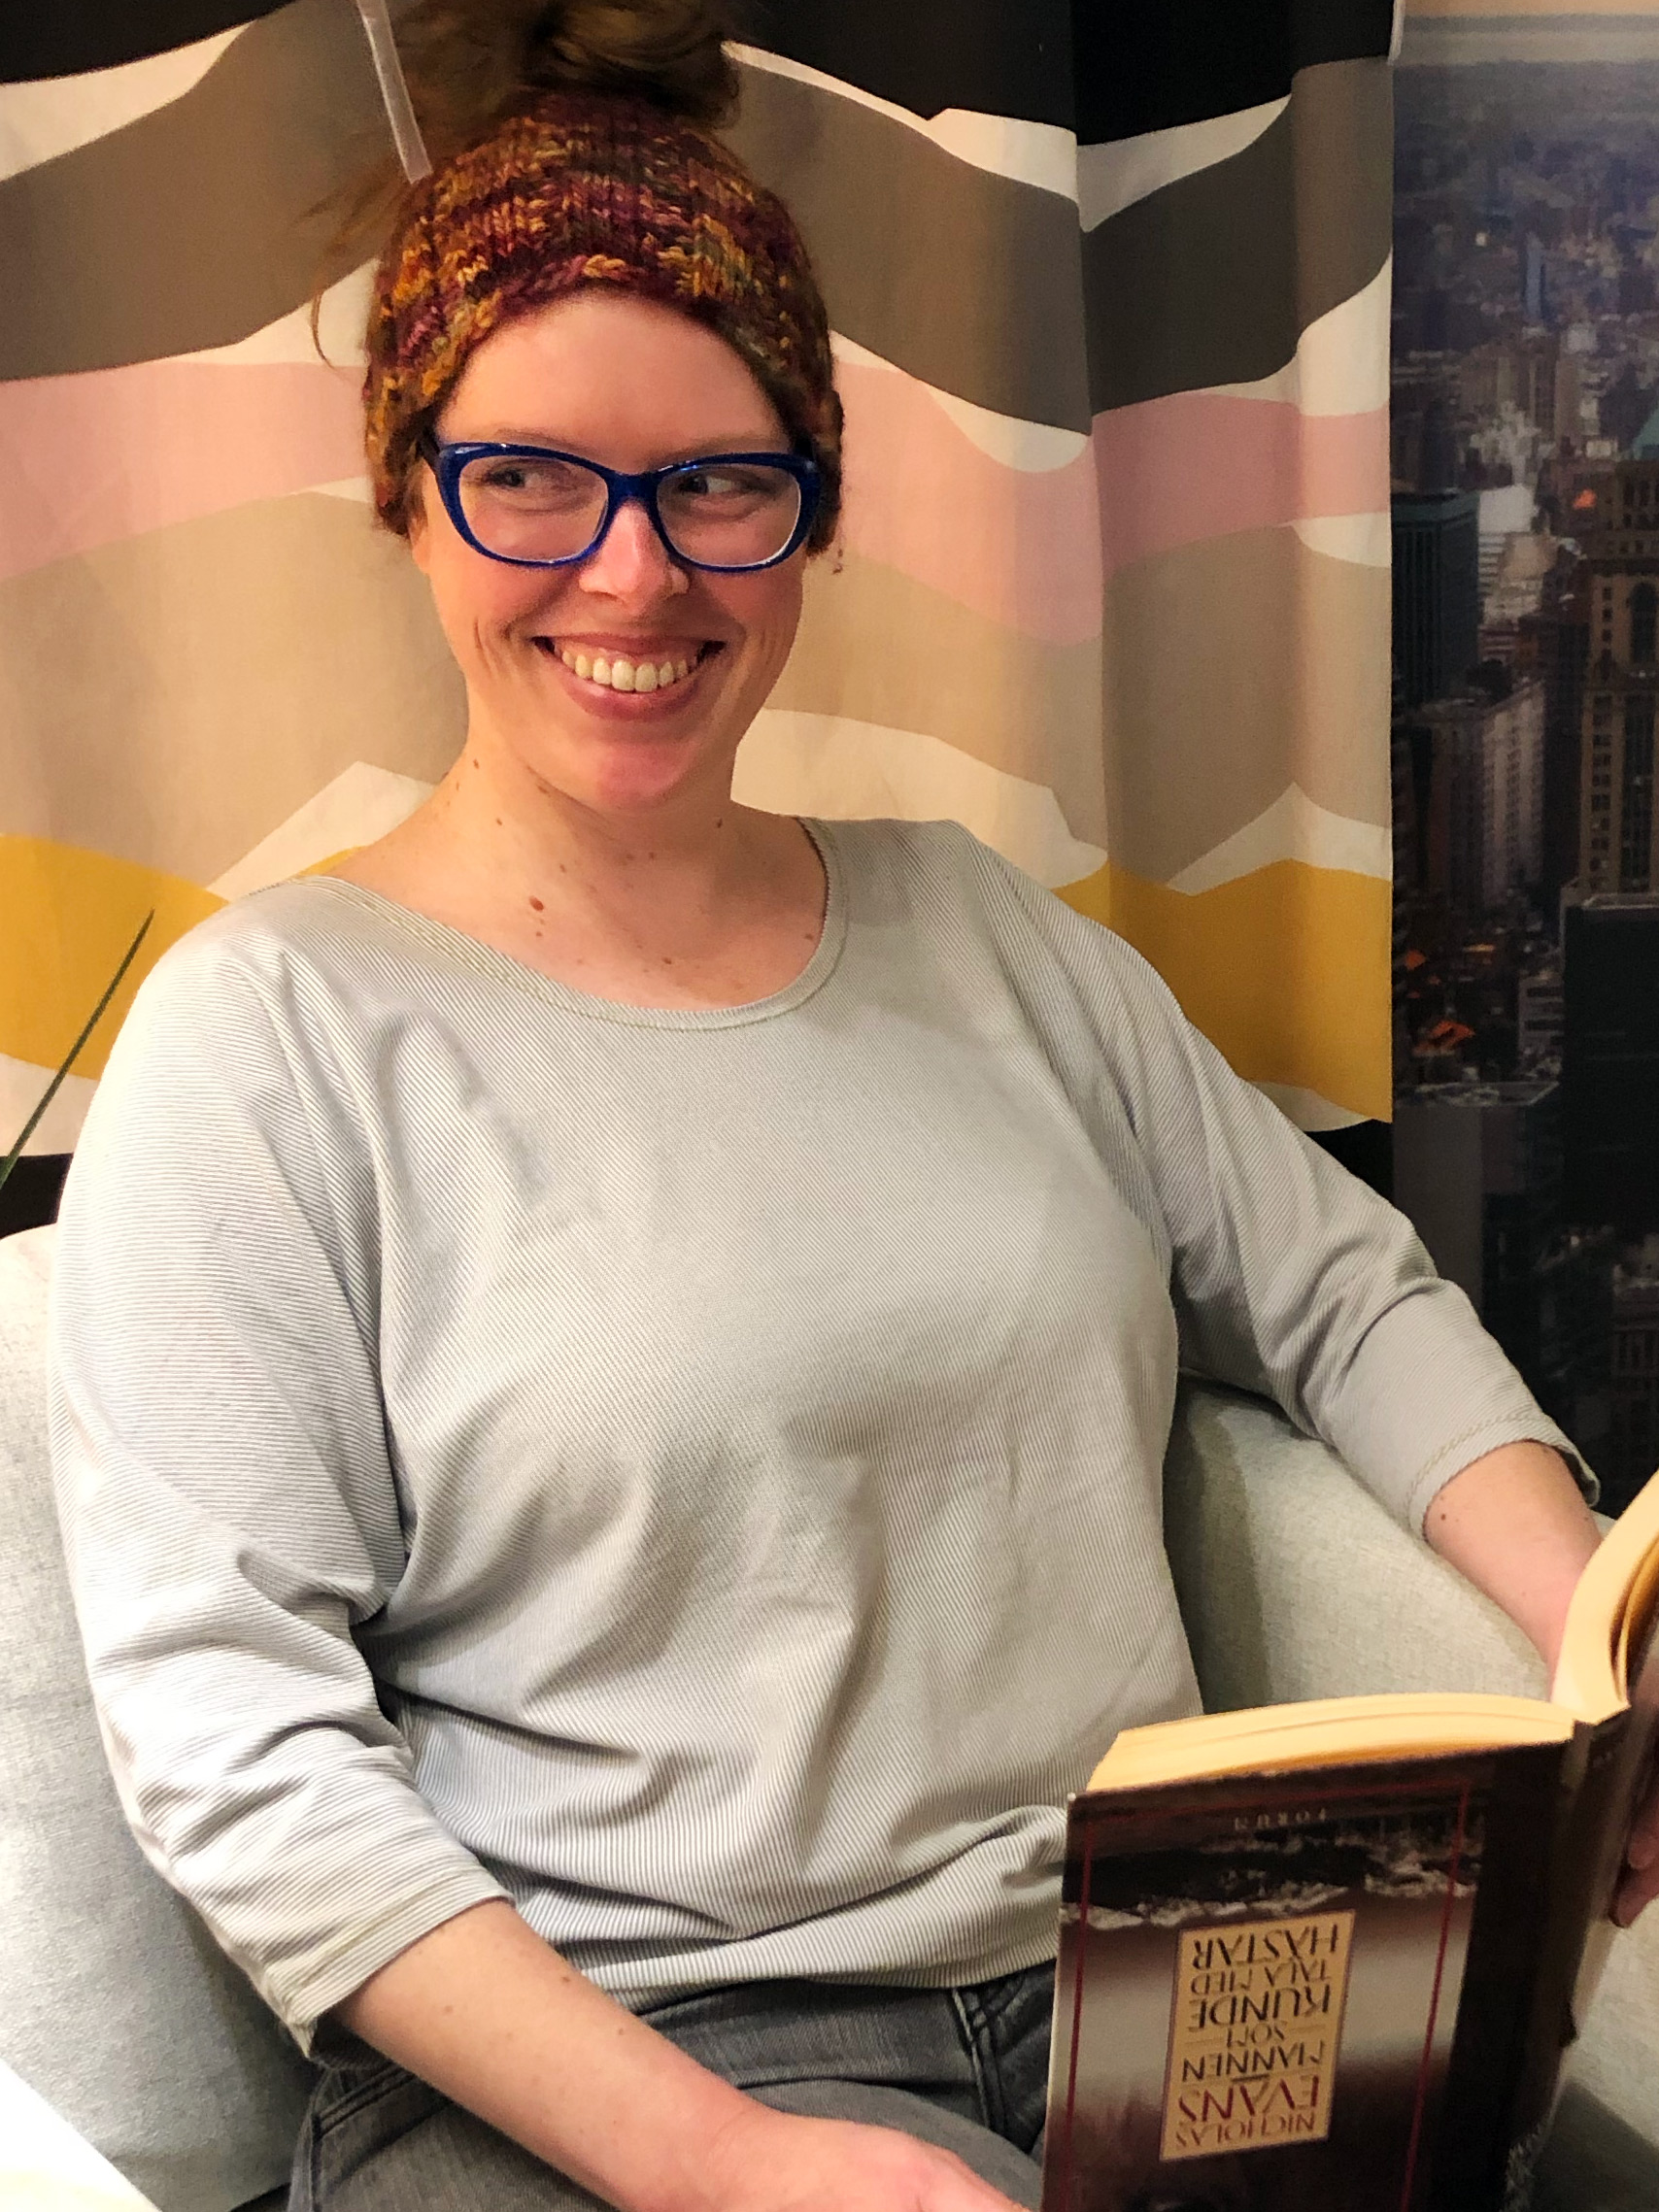
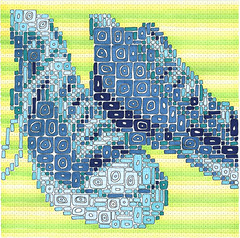
I finished this Andean Treasure cardigan (the Atrium pattern from the book Metropolitan Knits) very recently, which I absolutely love, and which I started in 2019! Ooooops. Here it is on ravelry or on instagram for more info/photos.

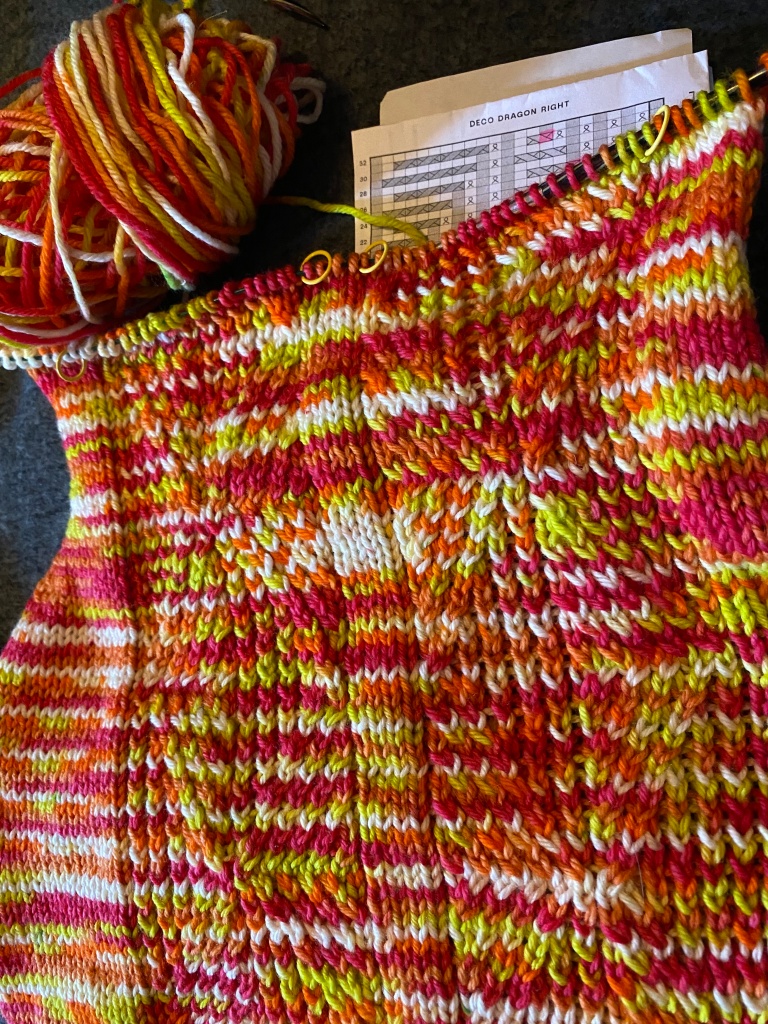
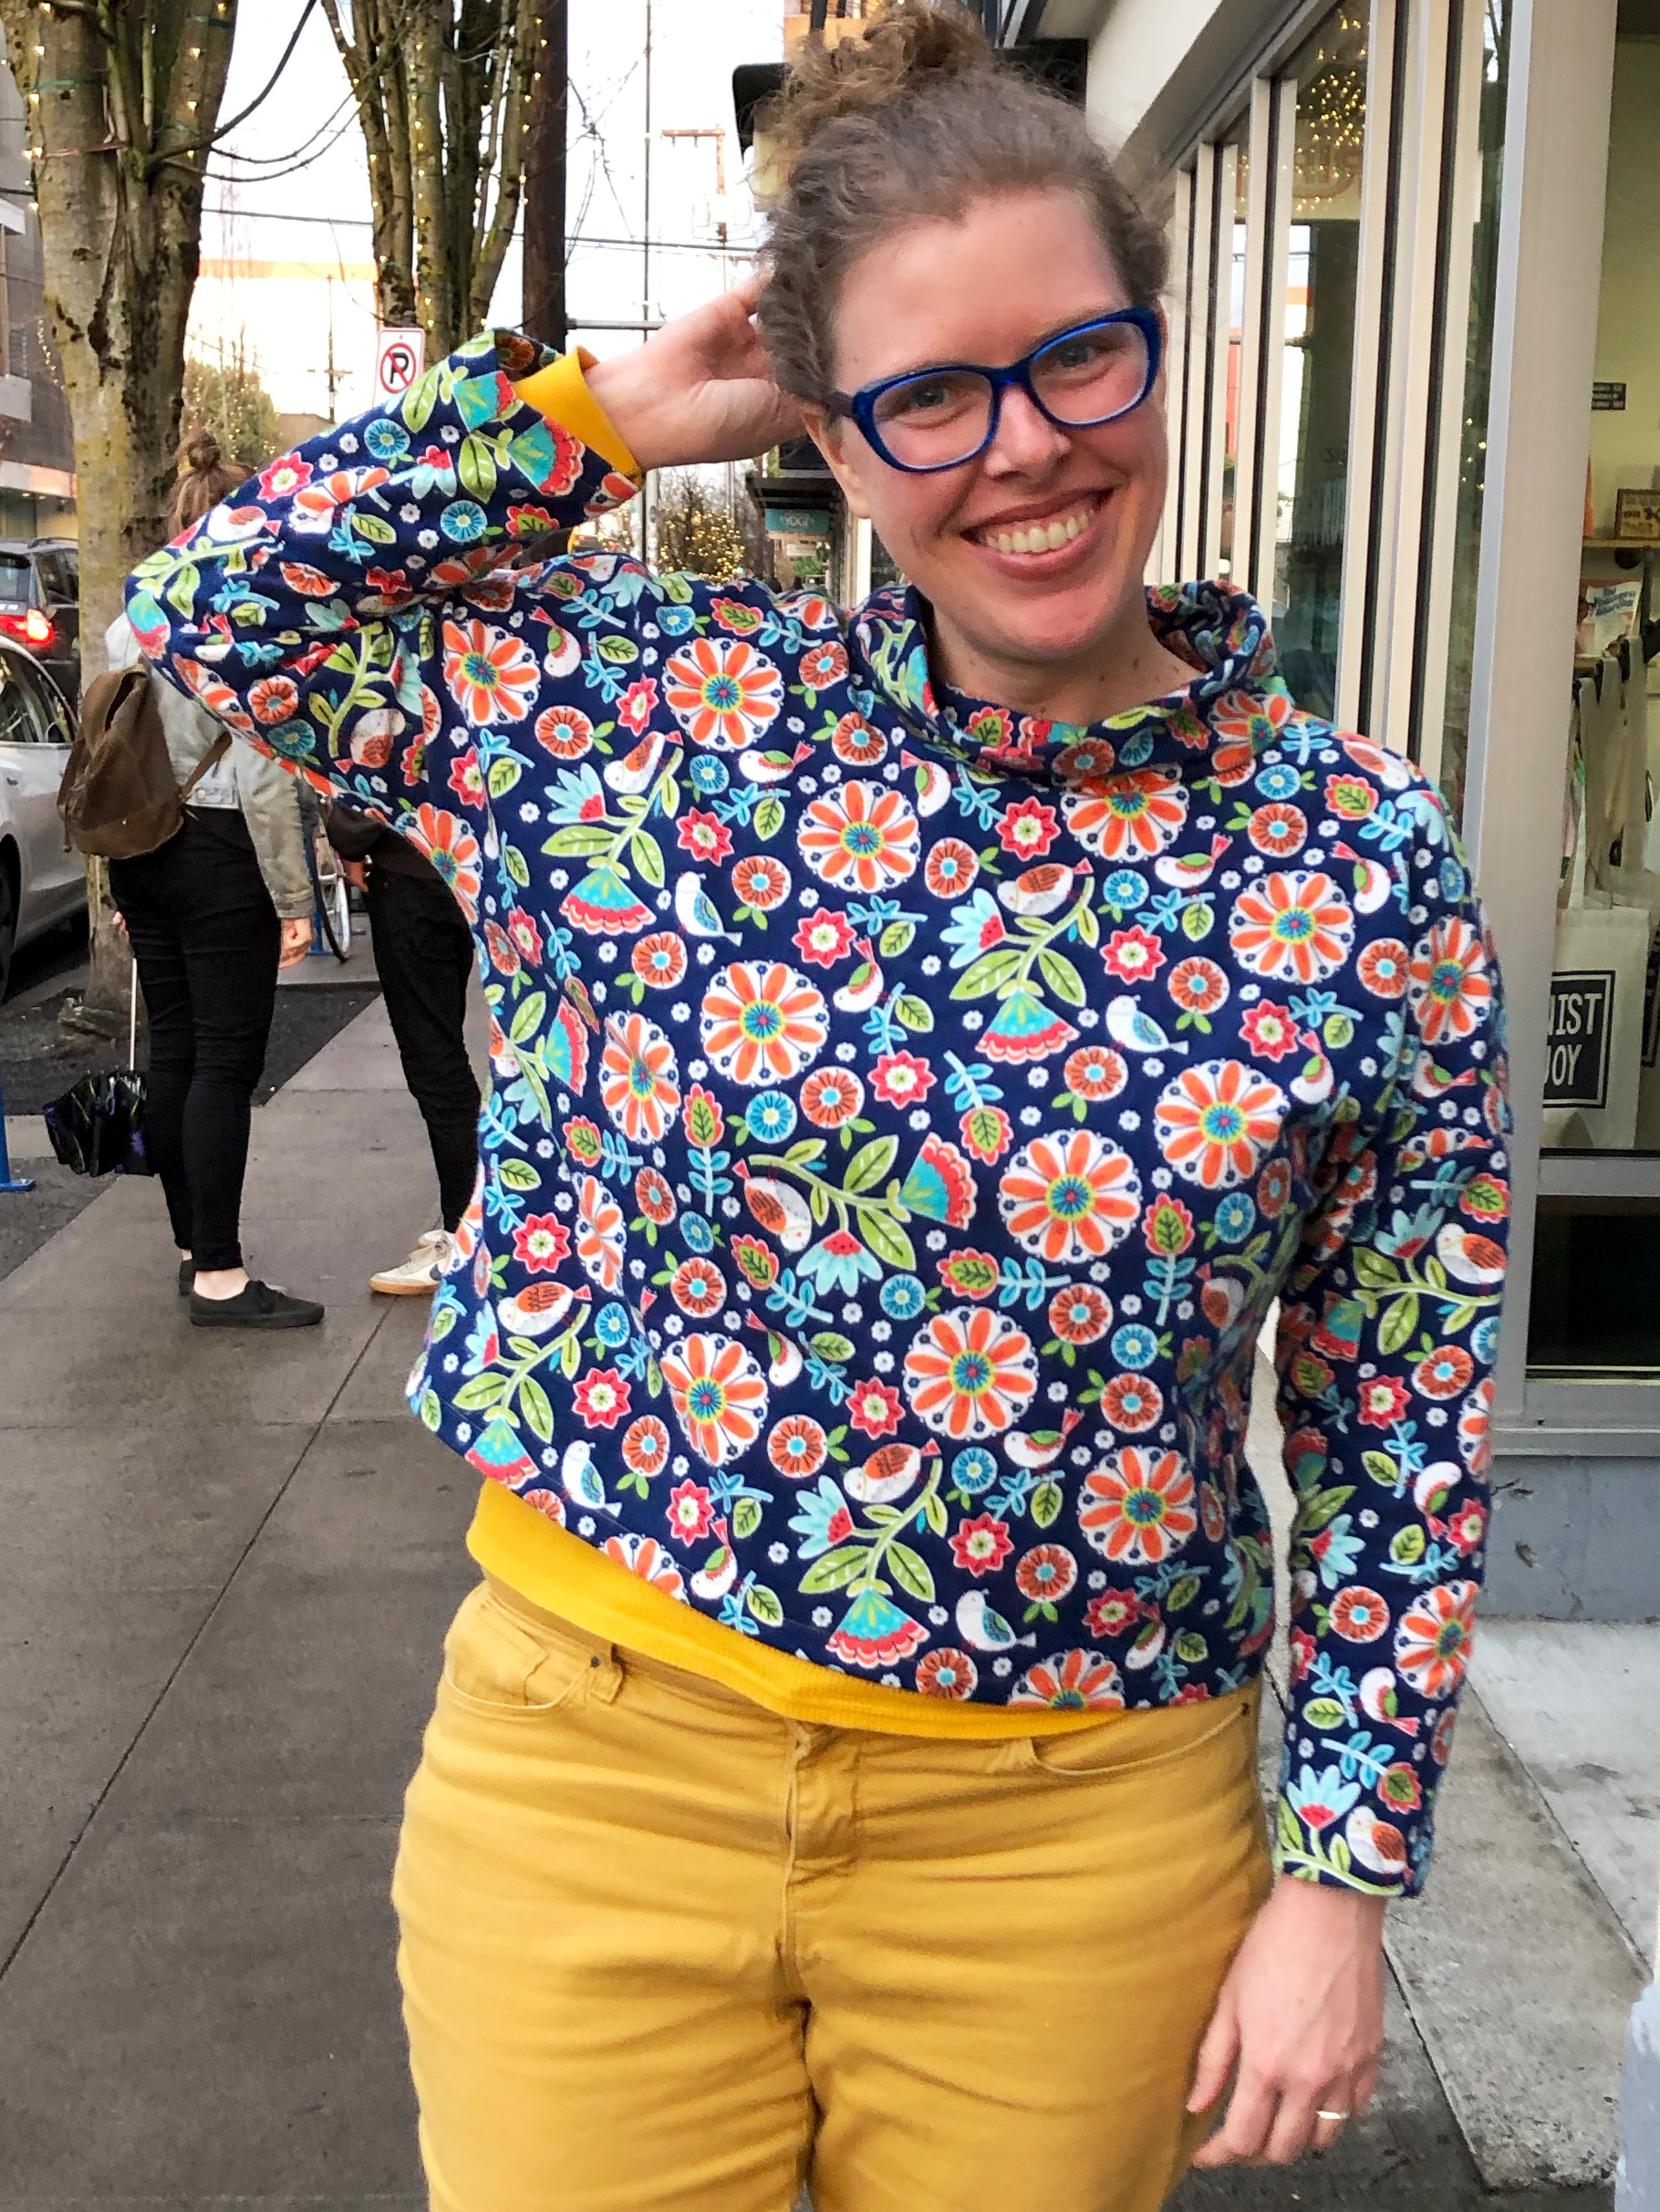
And I finished this Chroma Twist pullover (which is the Ice Fire Wrap pattern converted into a simple drop-shoulder sweater) last night, at the time of writing this! (Okay I started writing this post a couple weeks before finishing it… I finished the sweater on December 30th, just in time for it to be a 2023 FO!) Here it is on ravelry or on instagram for more info/photos.
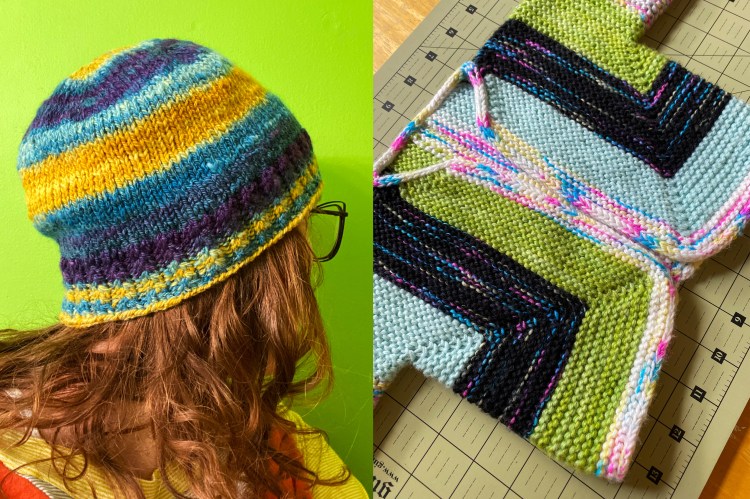
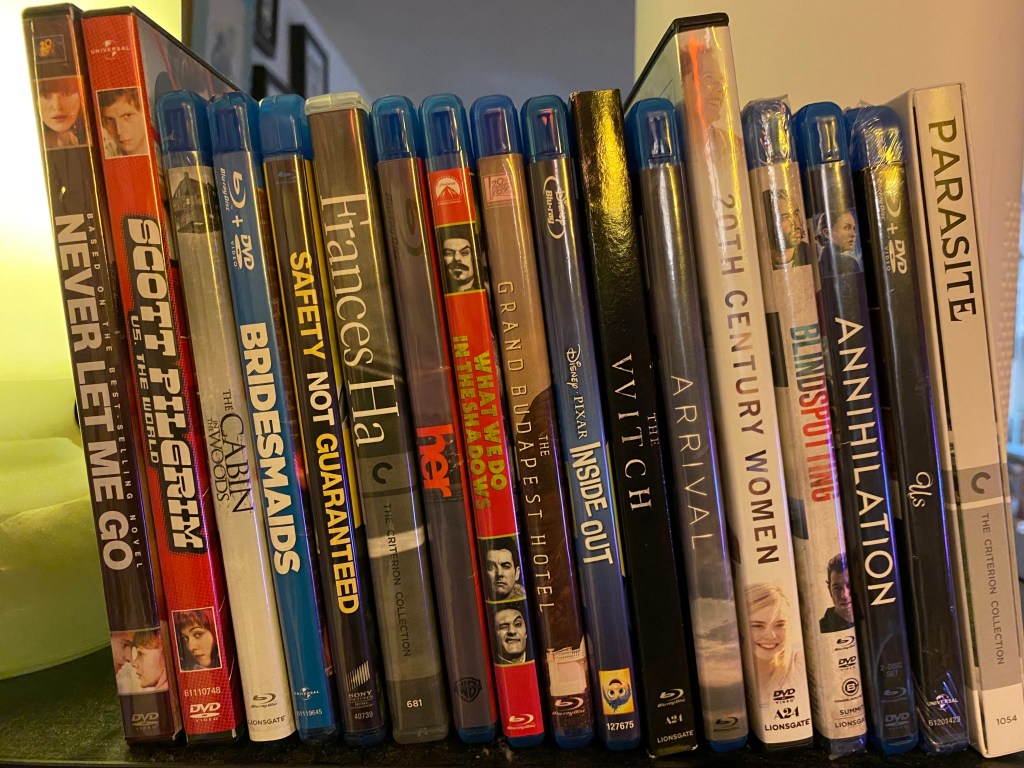
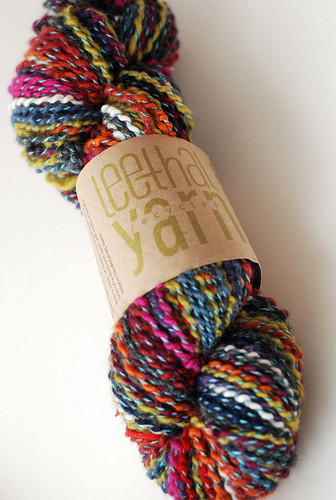
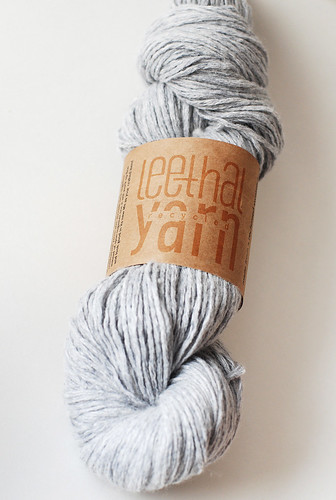
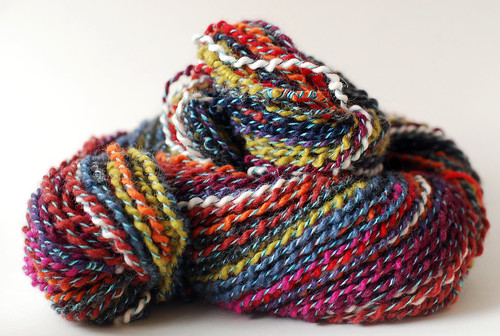
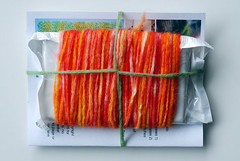
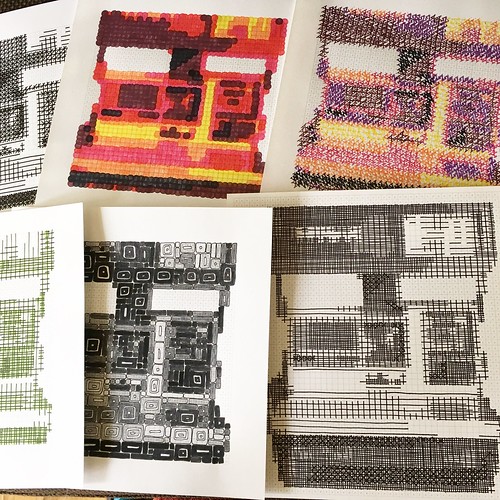
In the first half of the year I knit a couple of gifts that I was really happy with: an improvised hat with yarn that I spun, and Elizabeth Zimmermann’s 2-piece Baby Jacket in sock yarn leftovers, held double. I have two more knit sweaters and one crochet sweater still actively on the needles right now, plus another sweater that I kinda started over a year ago but never really got going on, and another sweater that I got pretty far on a couple of years ago, and then lost a yarn ball that I need to find… anyway, those will be 2024 projects! Oh and my movie-sweater project—I knit a stripe every time I see a movie in the theater (on ravelry here).
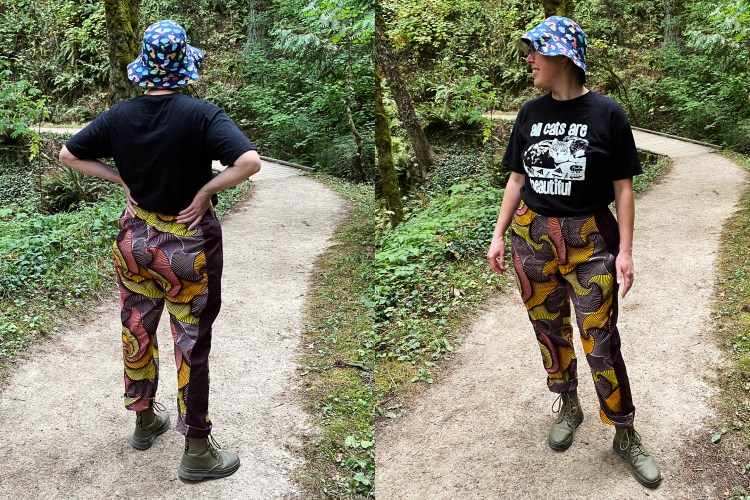
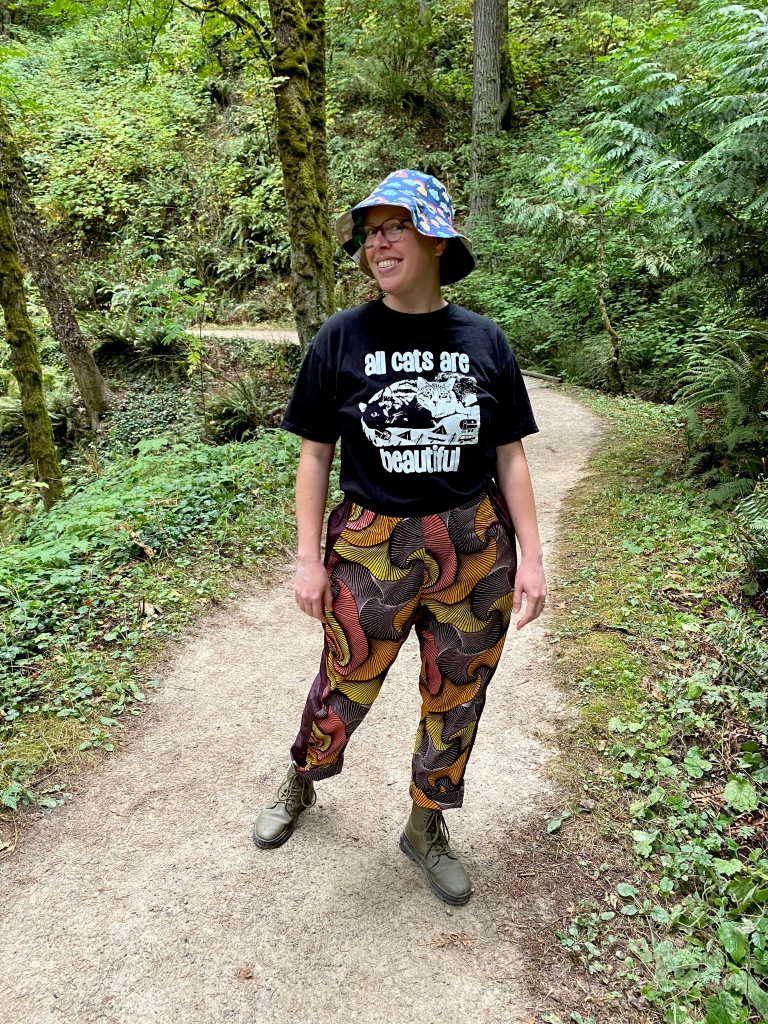
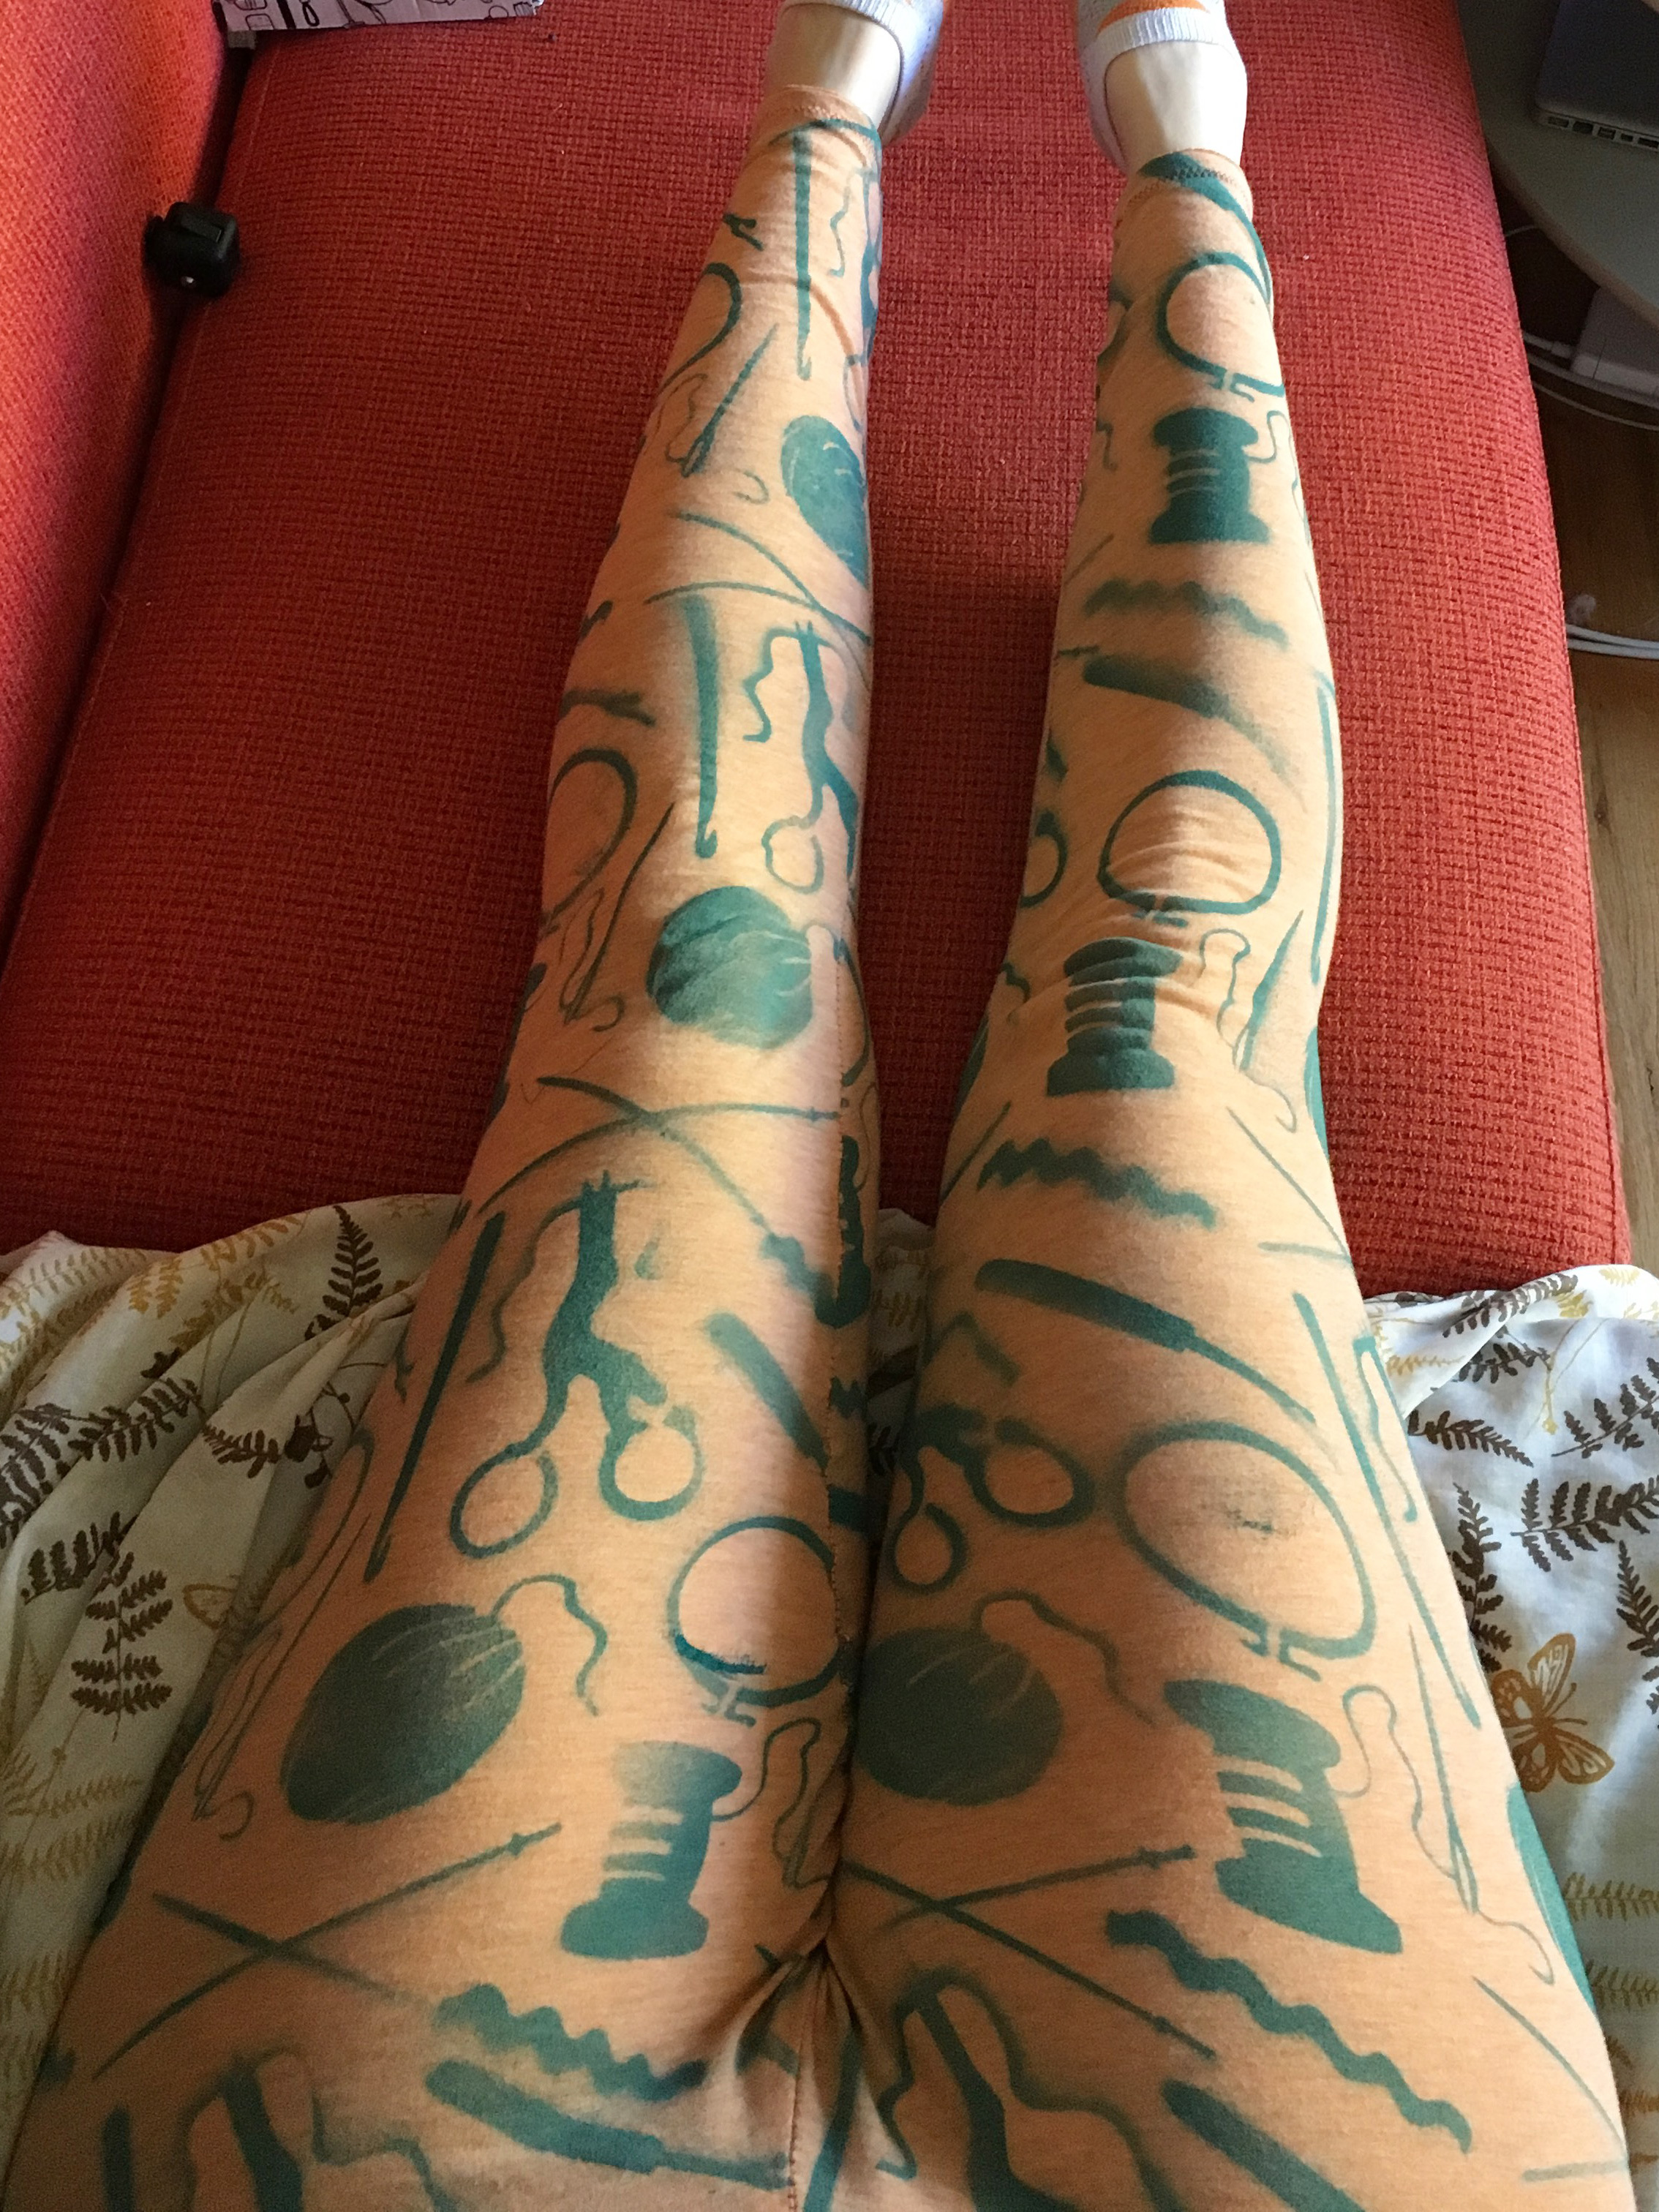
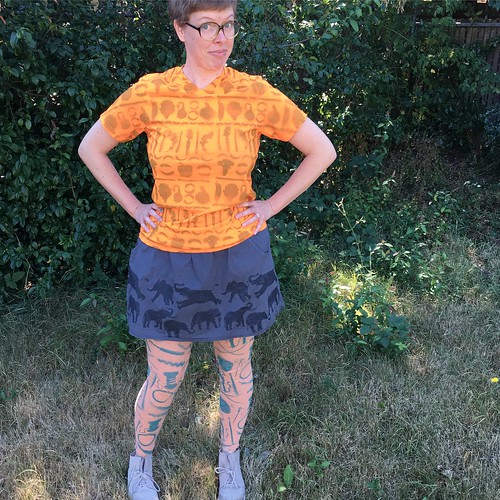
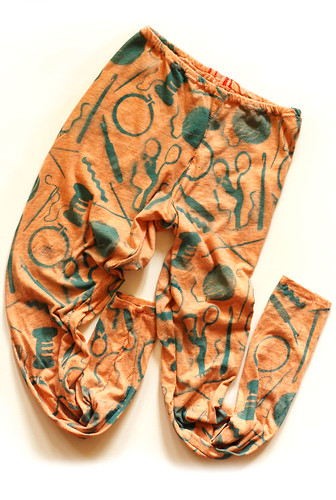
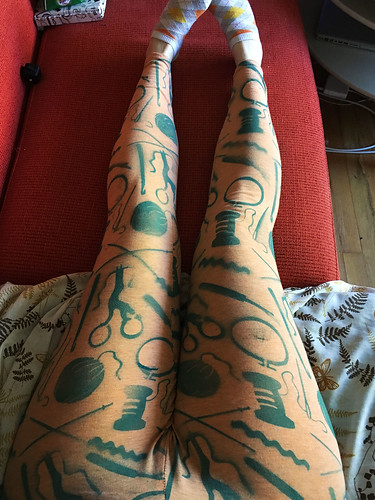
As for sewing, for the last couple of years I haven’t been doing a ton. I did sew a few things I love this year, like these pants! (Free Range Slacks pattern, one of my most-used patterns.) And those navy blue pants I’m wearing with the Ice Fire sweater above (Peppermint Wide-Leg Pants pattern).

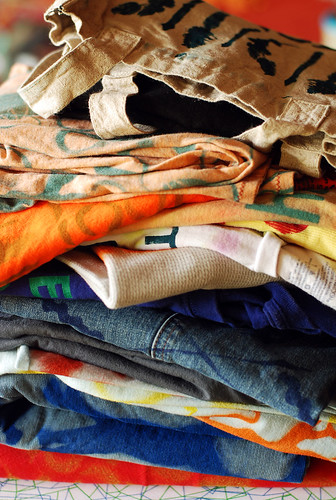
And two very comfy pairs of flannel pants, both made with thrifted flannel sheets, both using the Luna Pants pattern.

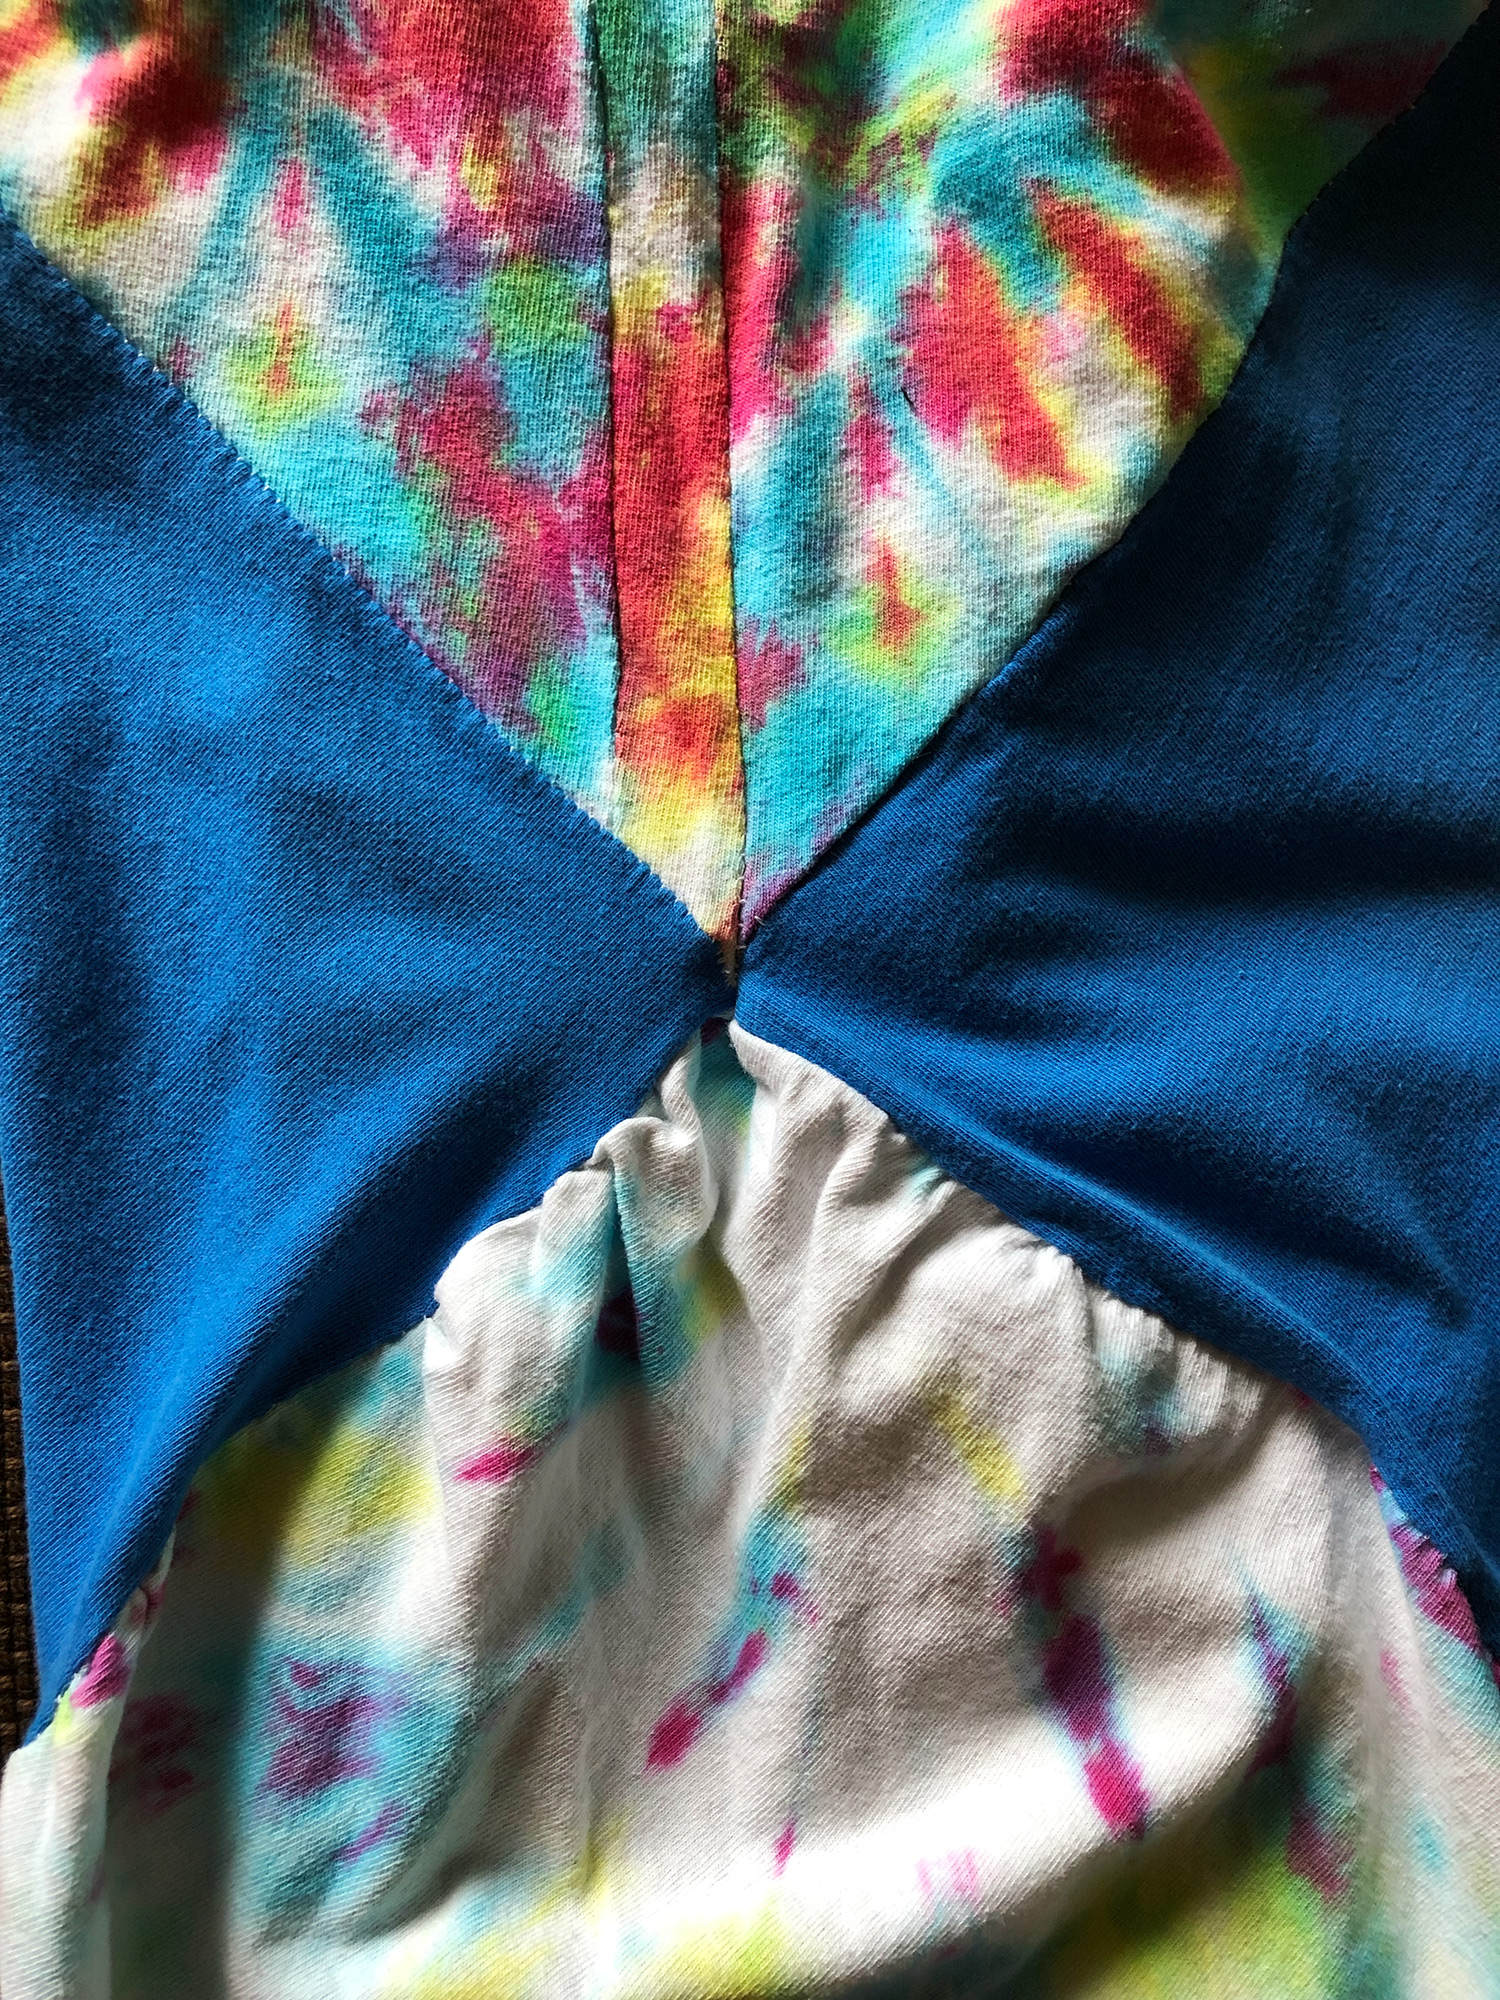
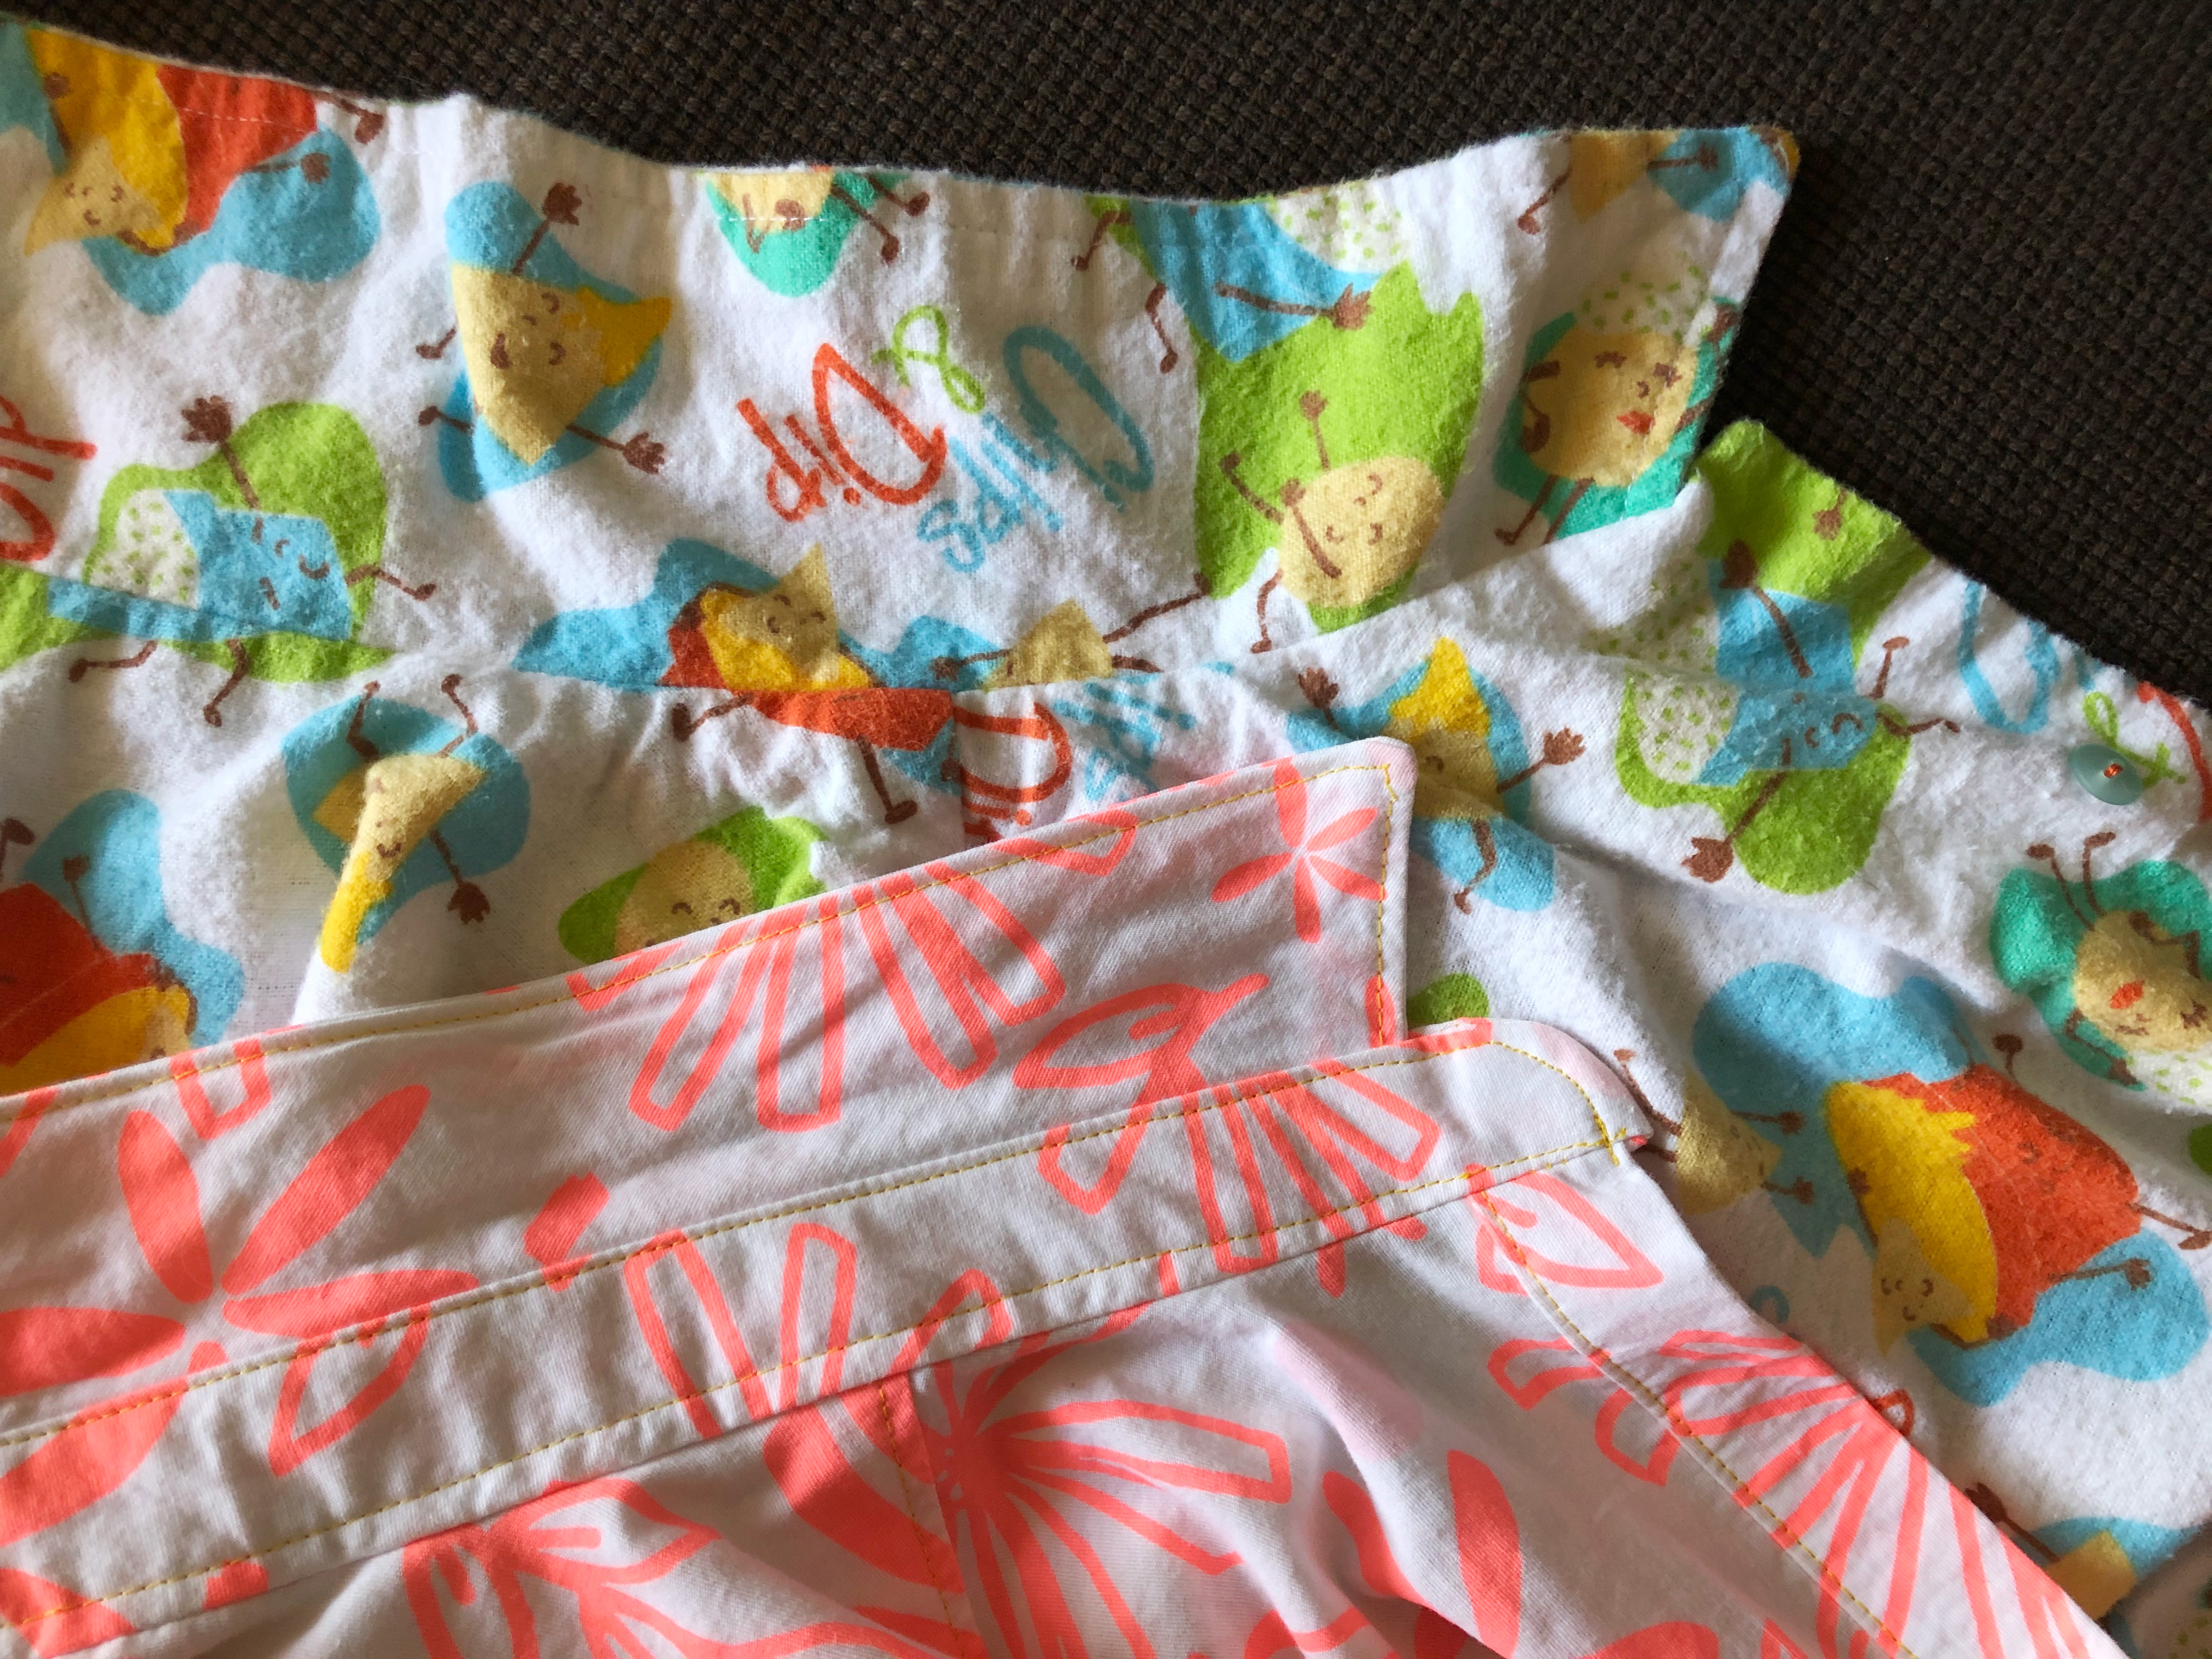
And these two pairs of shorts, both using the Iris Shorts pattern, which I like a lot!

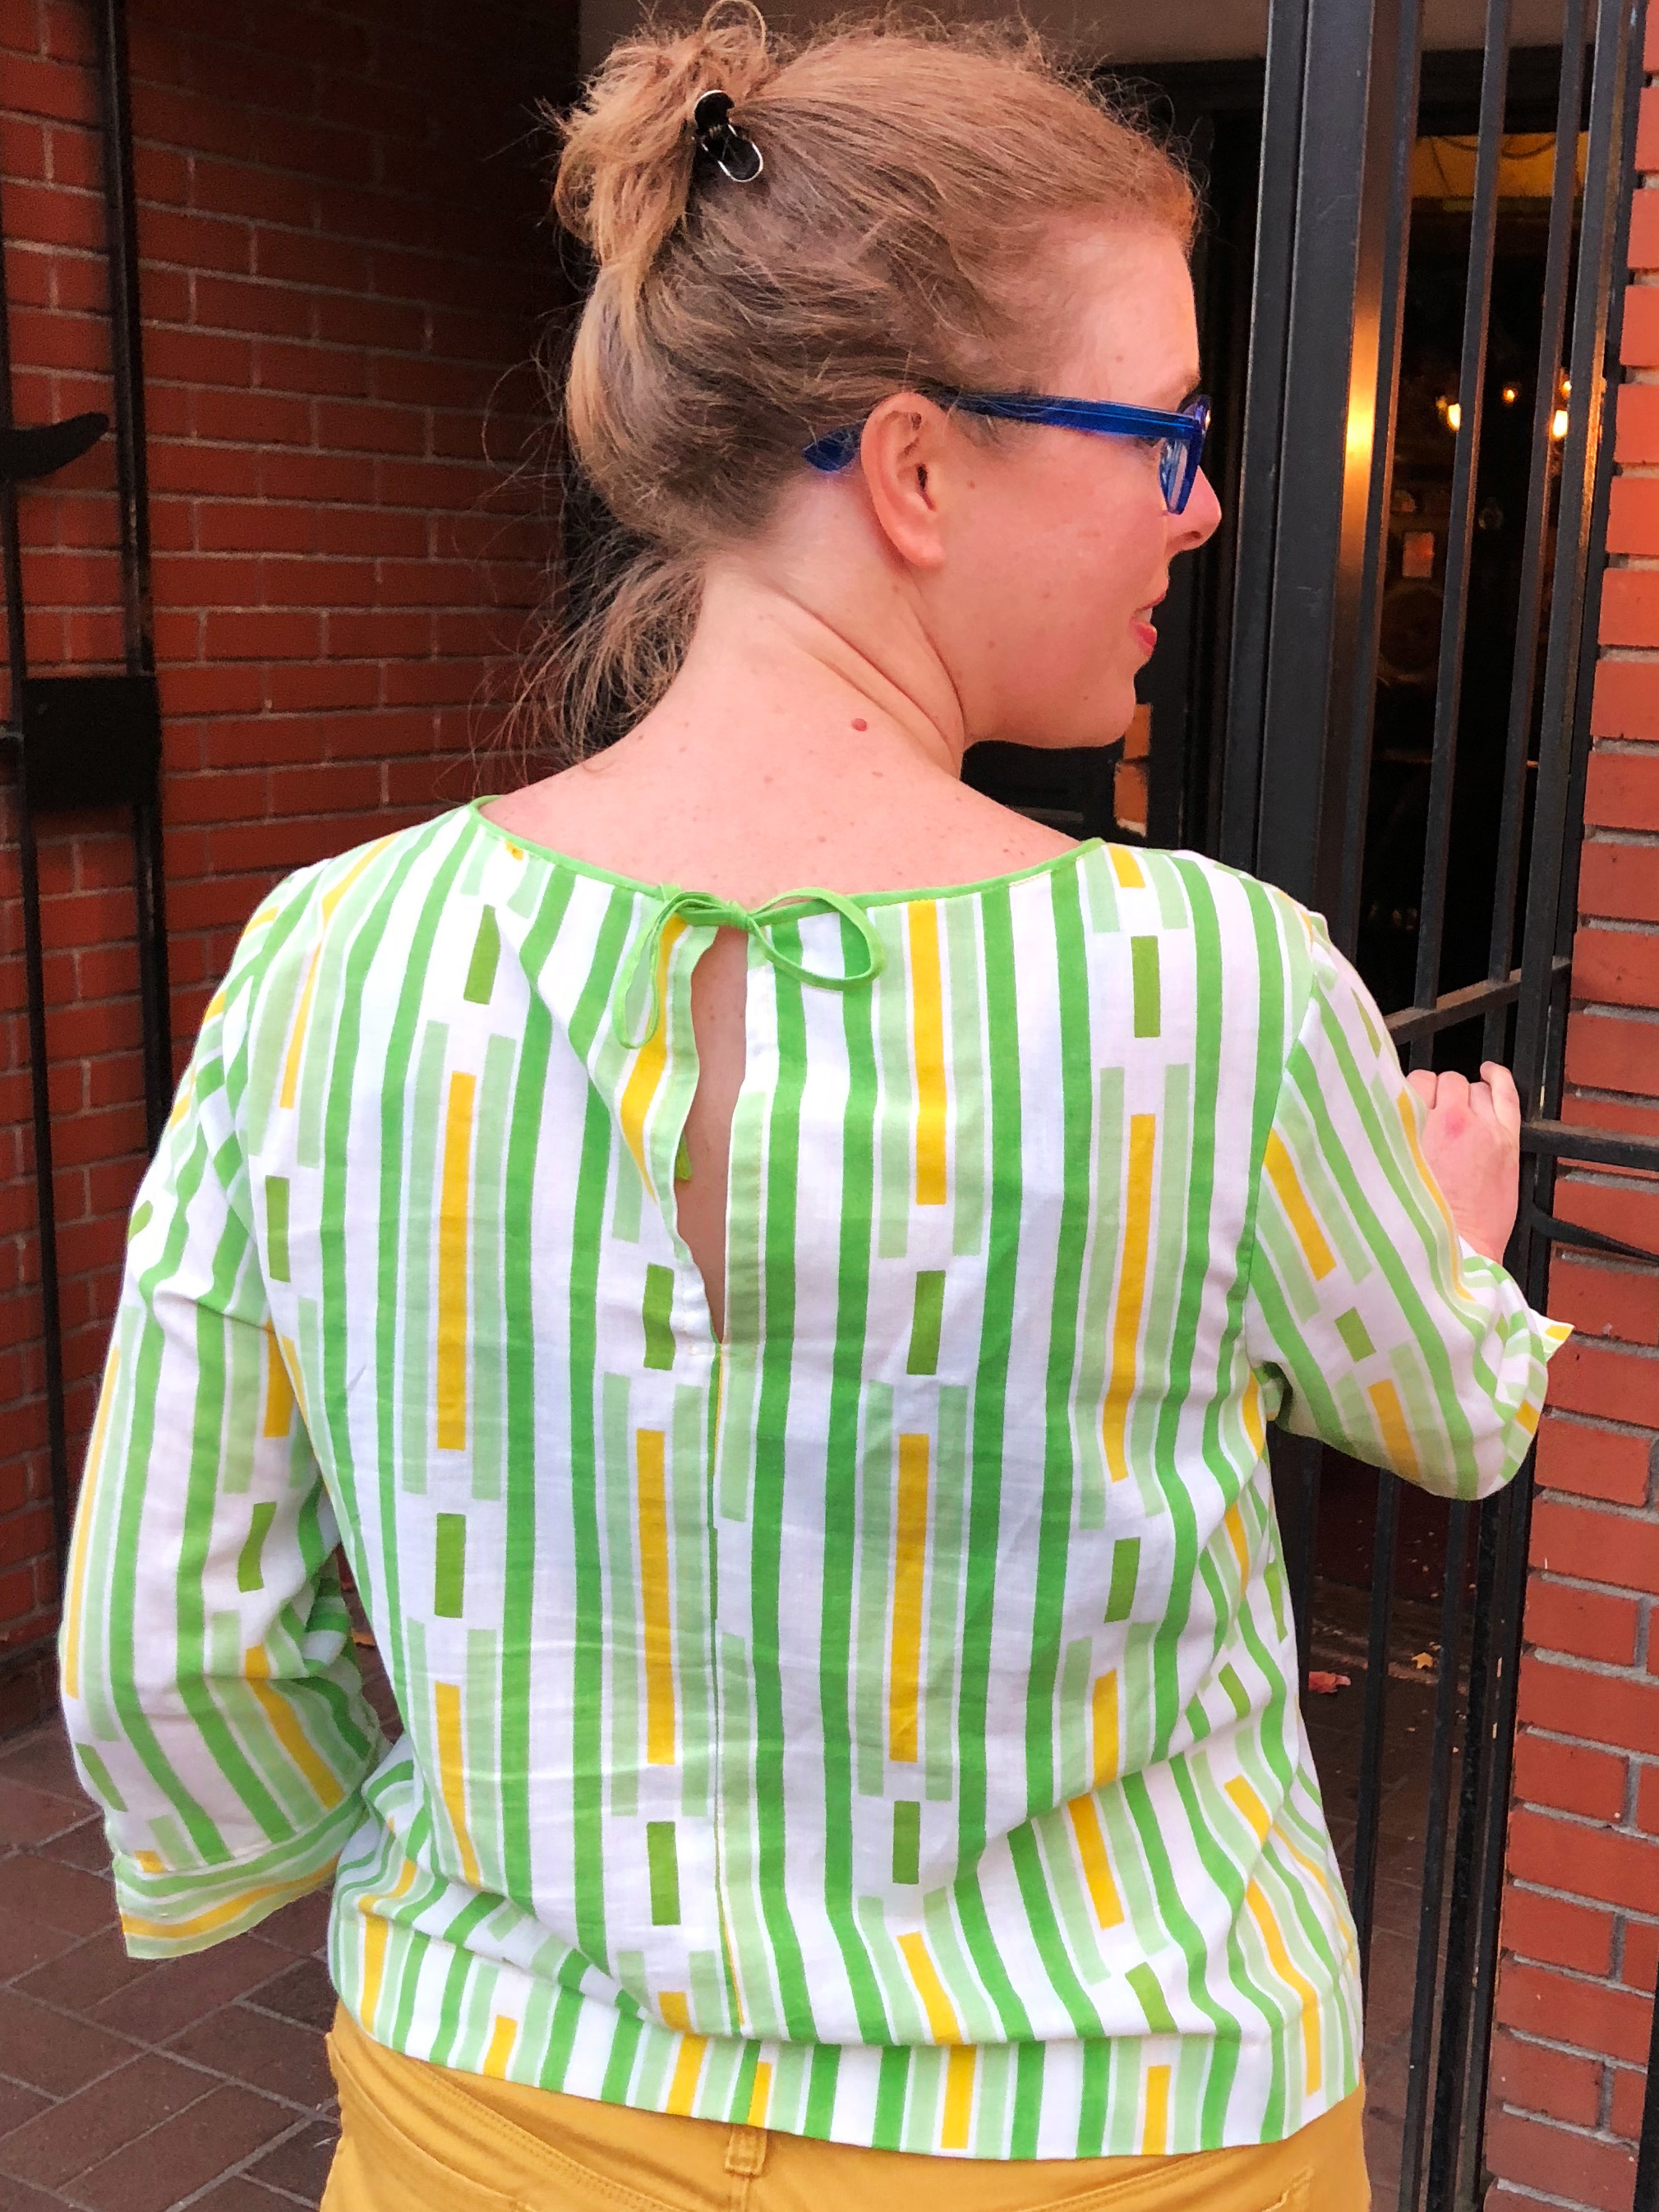
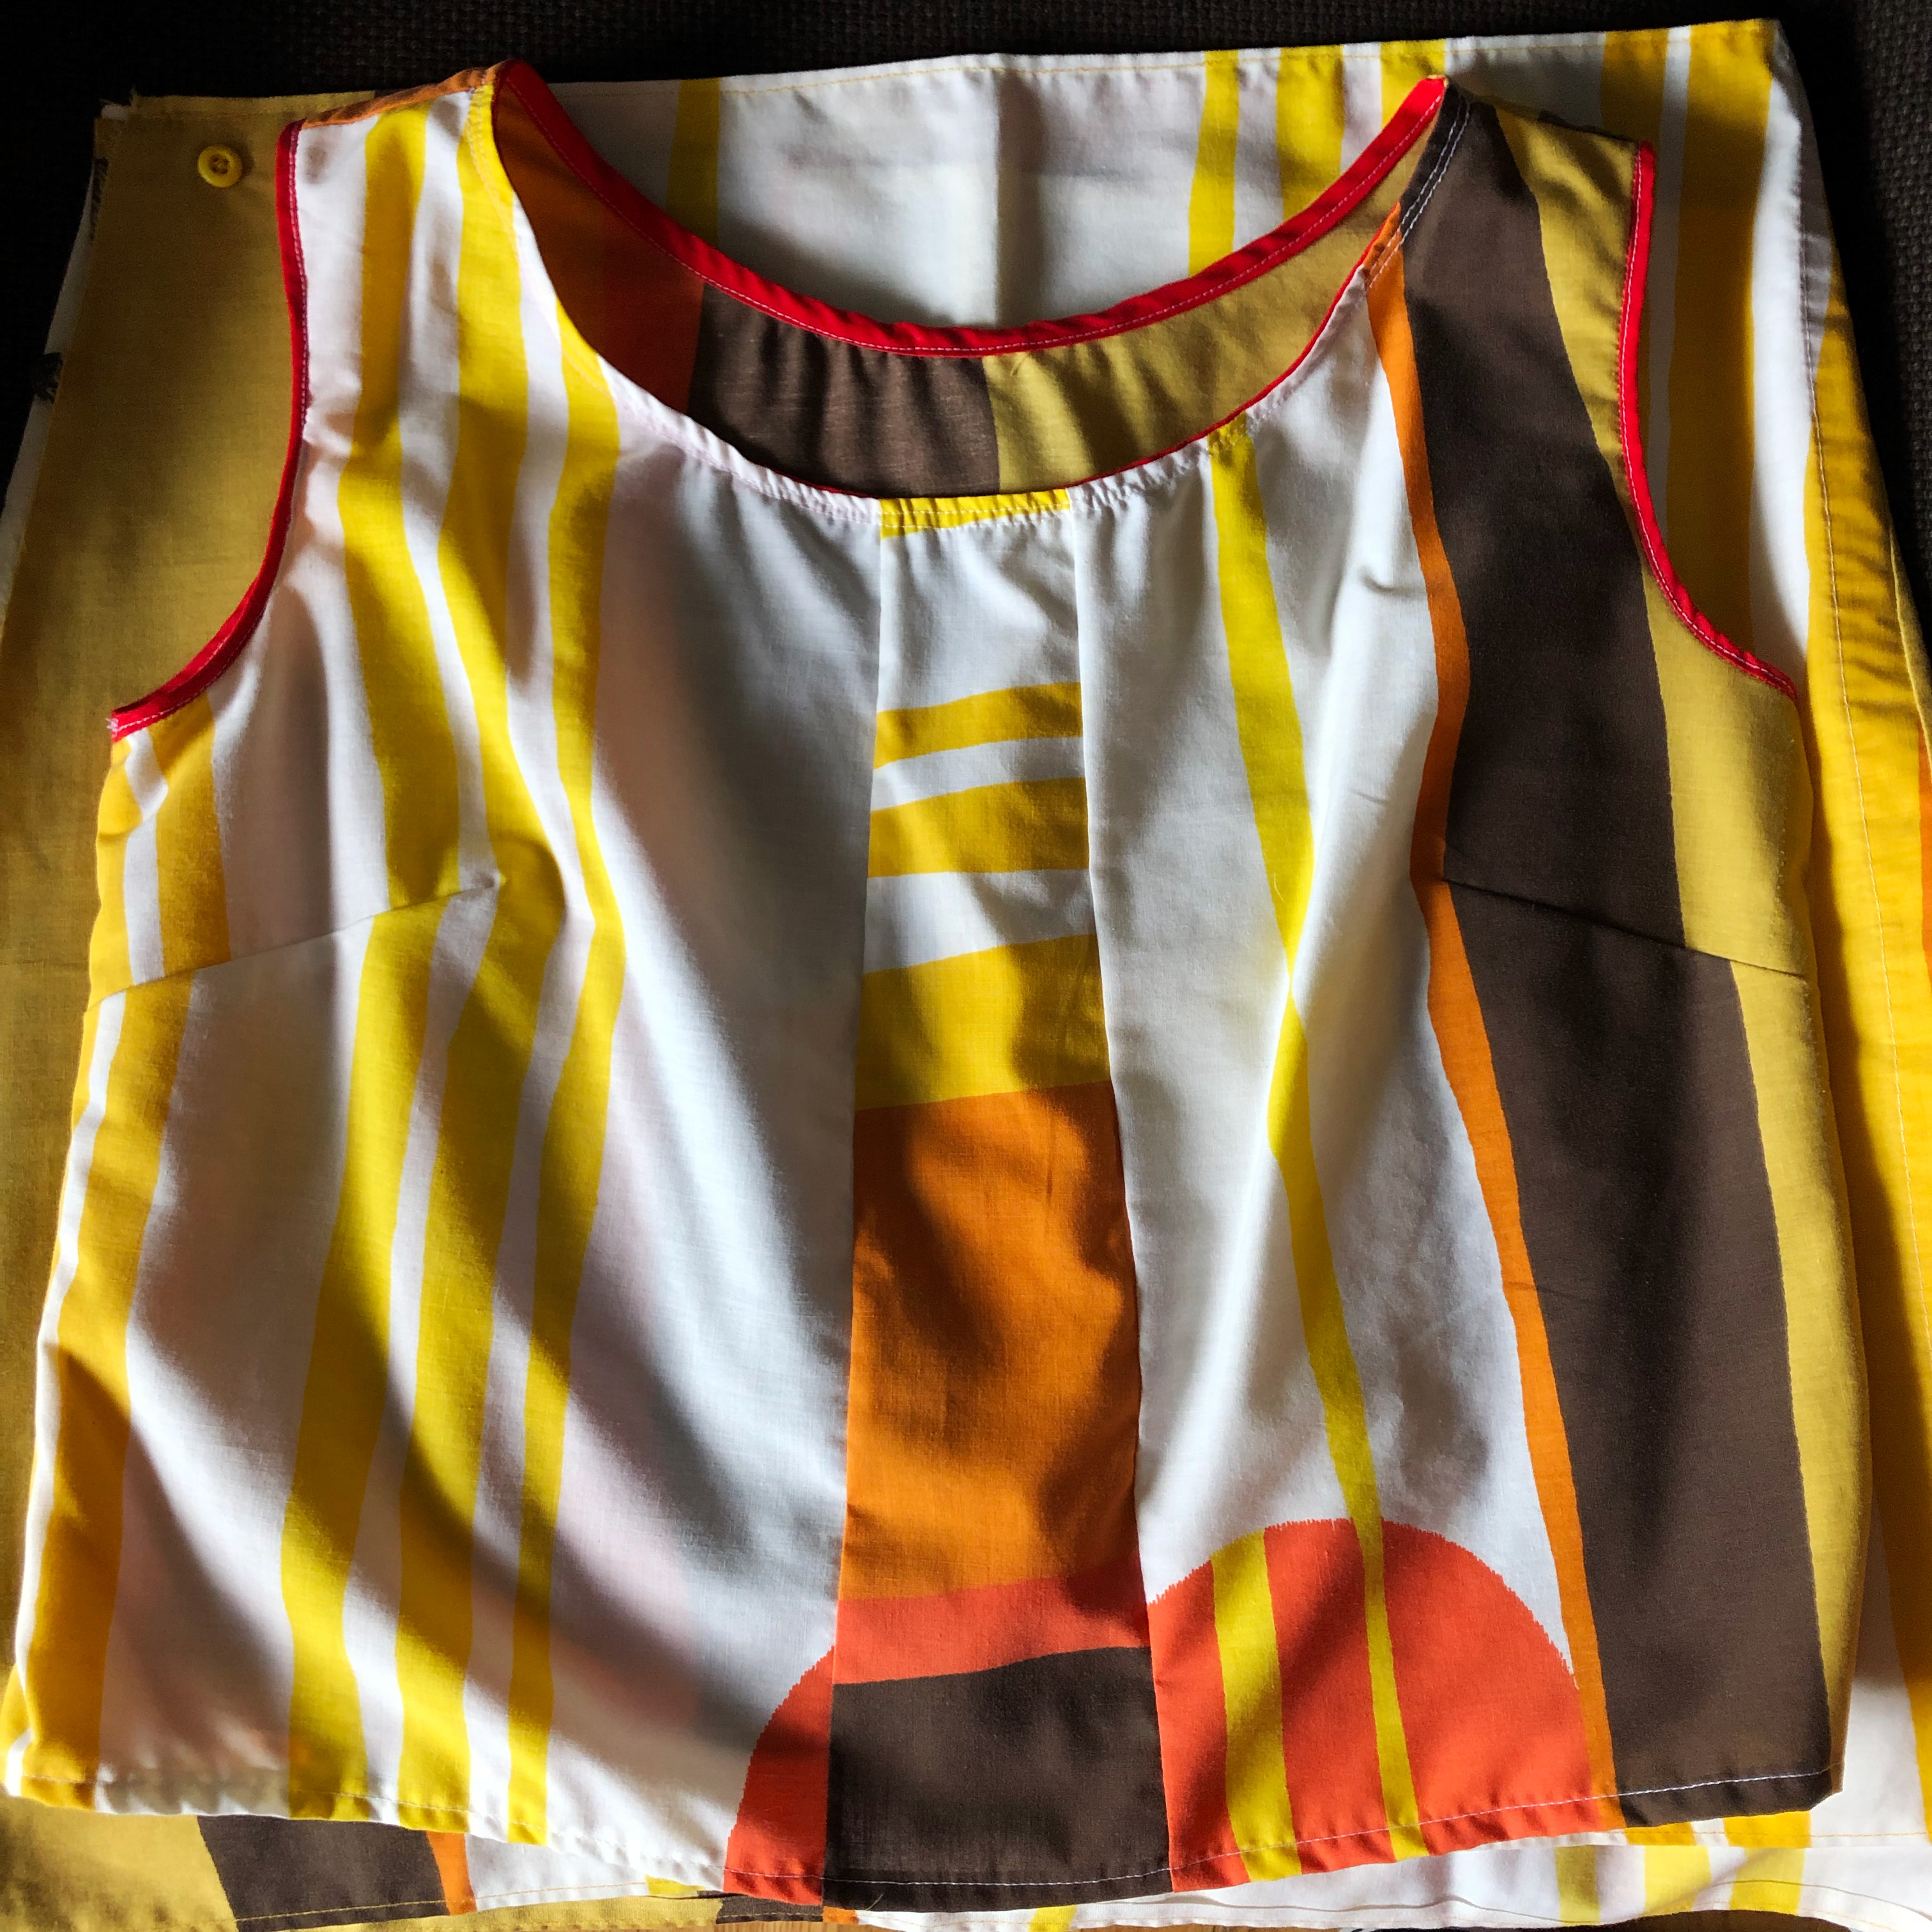
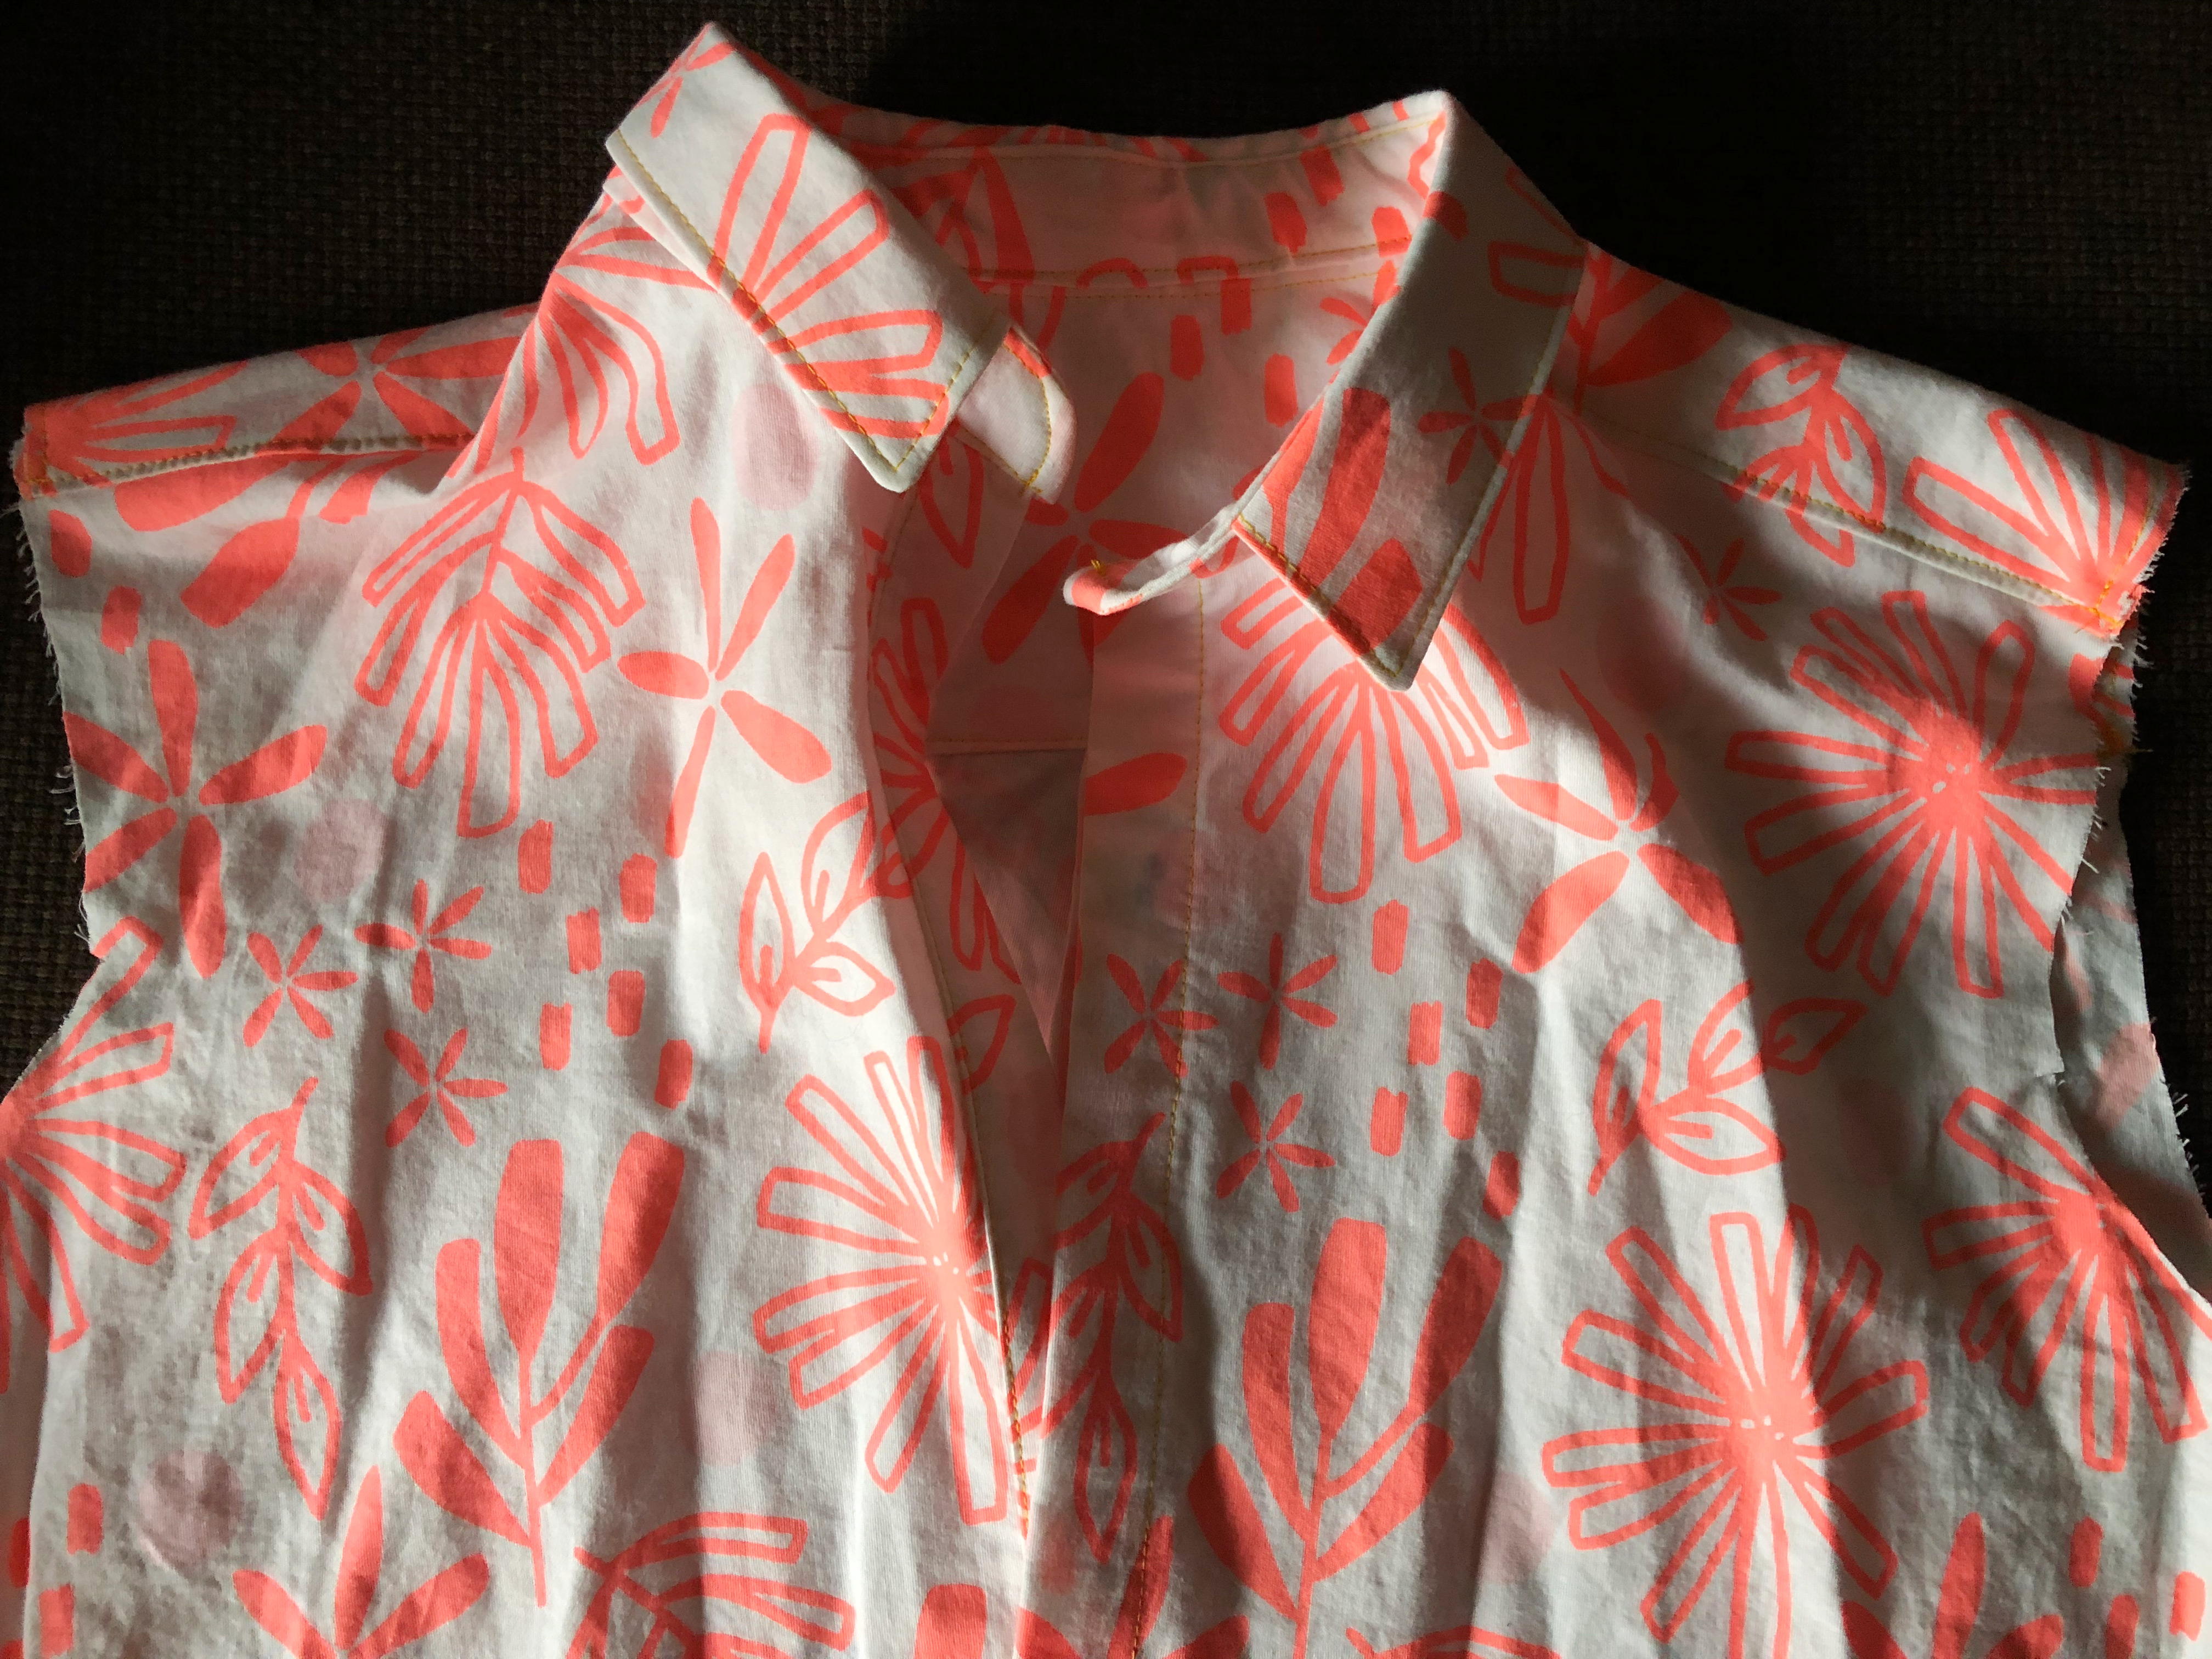
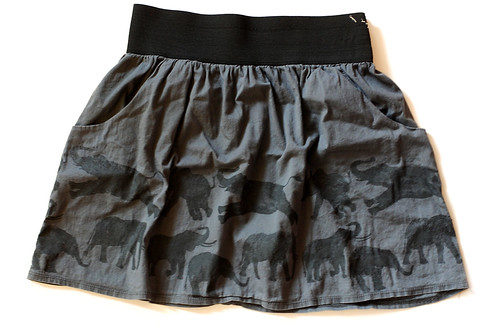
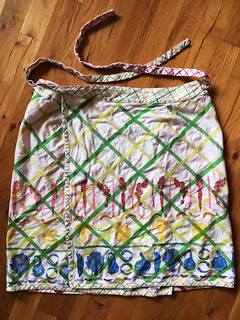
And also these Skye Shorts, which look like a skirt! And then I grabbed the Rey pattern set from Seamwork which is a belt bag and bucket hat, and I got kind of obsessed with making bucket hats!

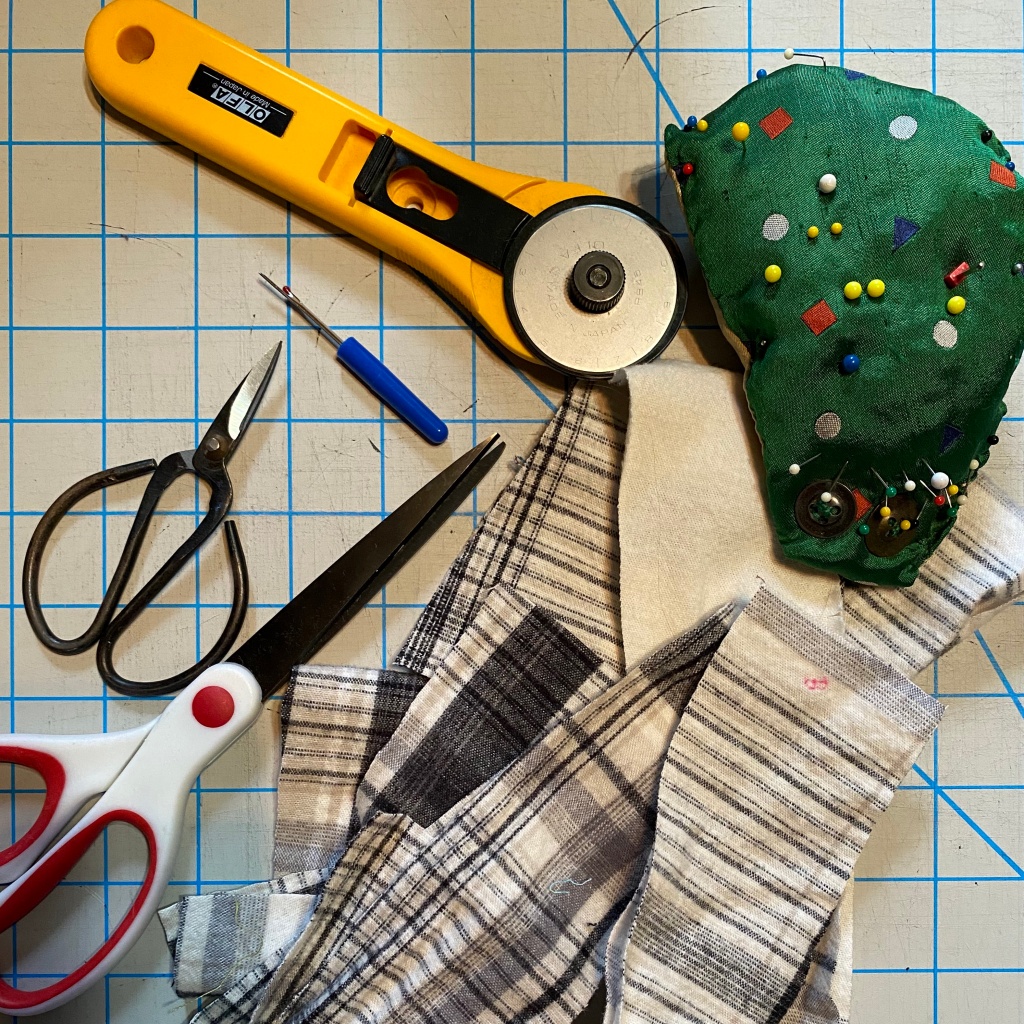
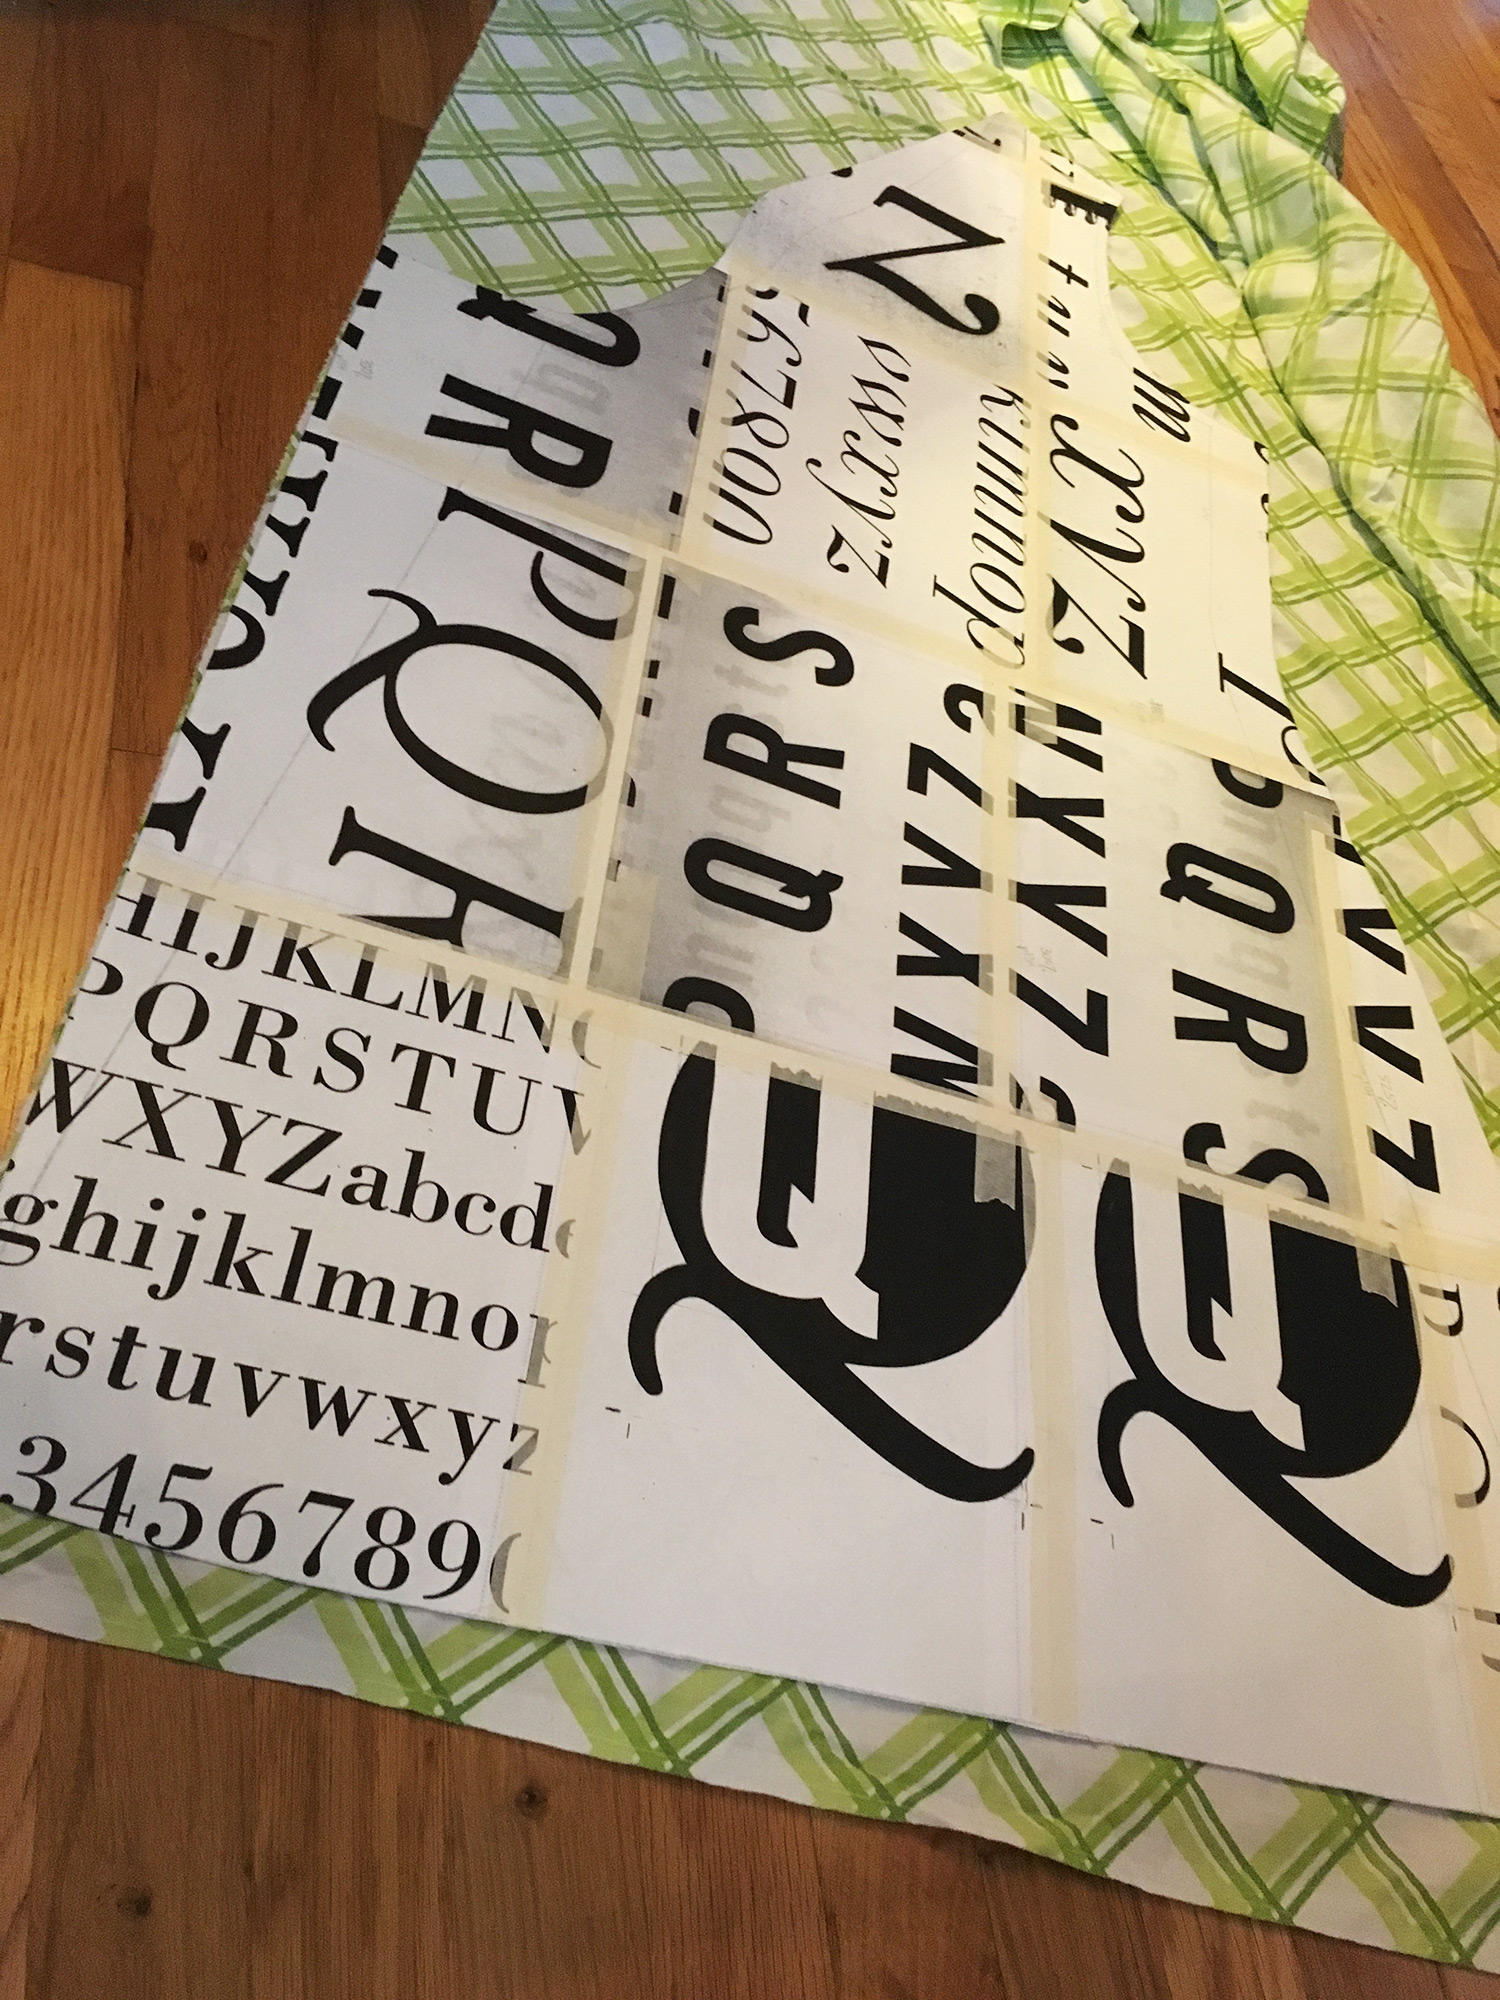
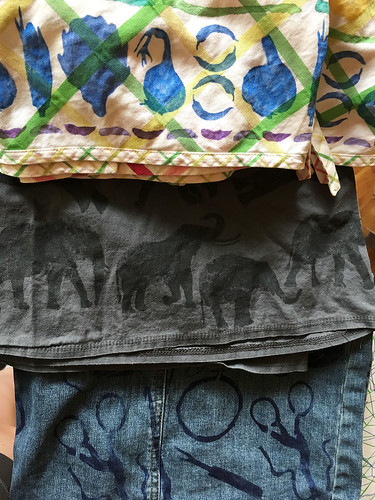
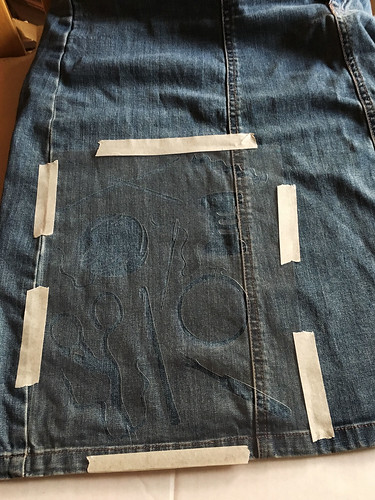
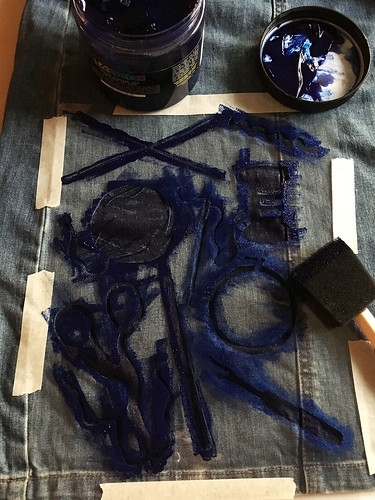
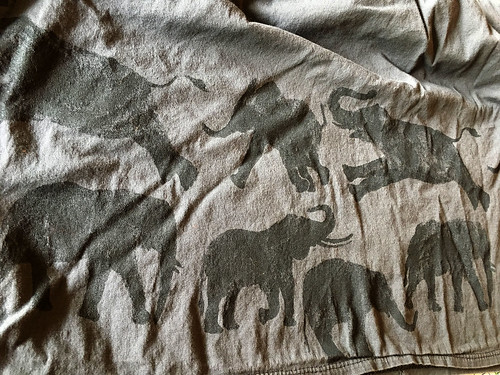
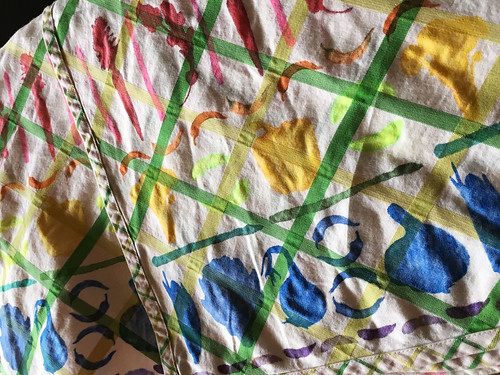
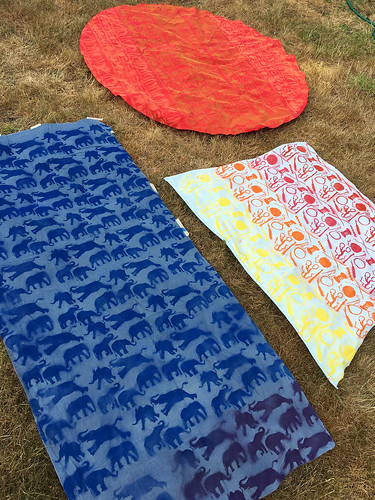
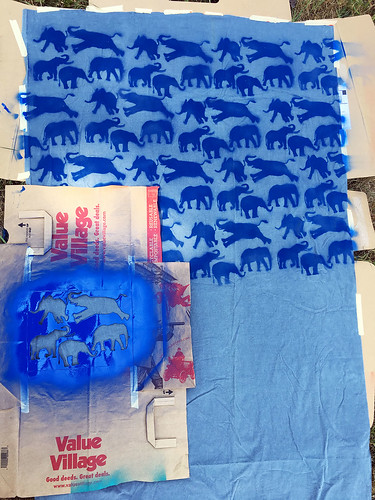
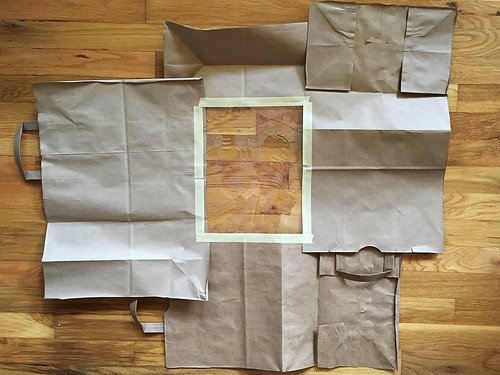
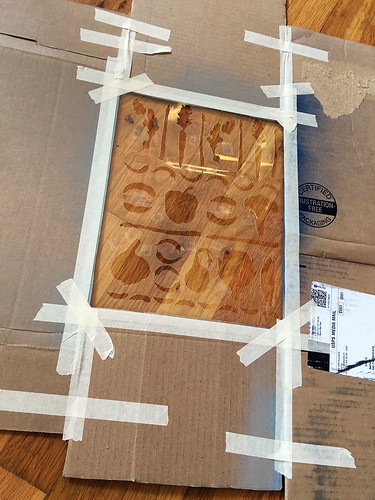
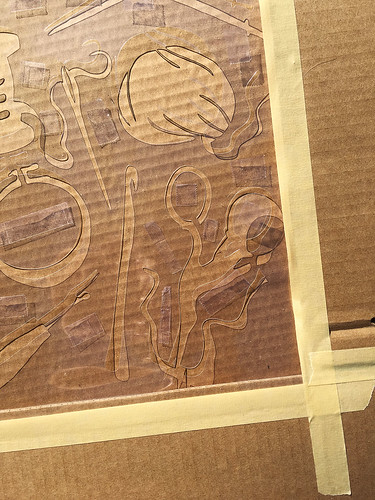
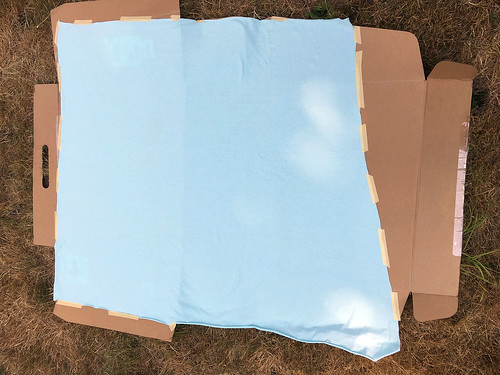
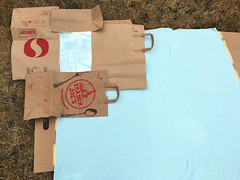
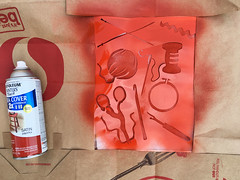
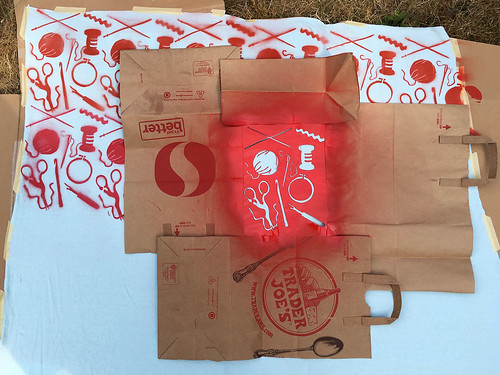
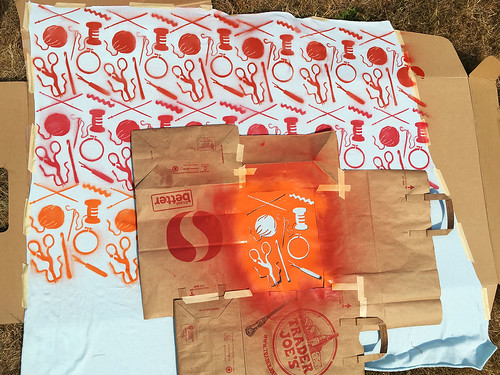
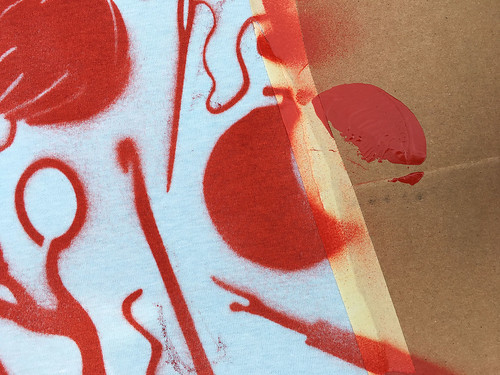
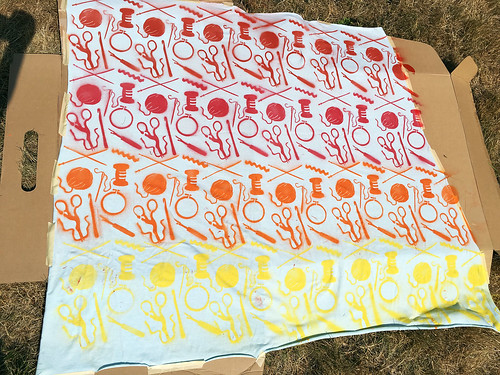
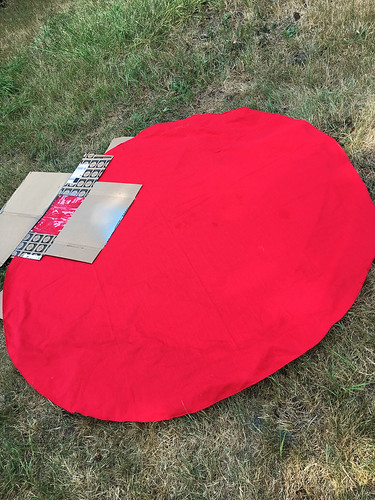
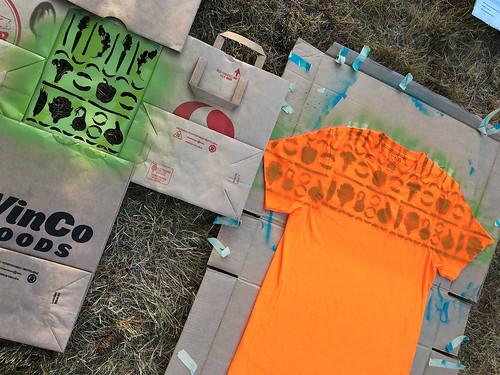
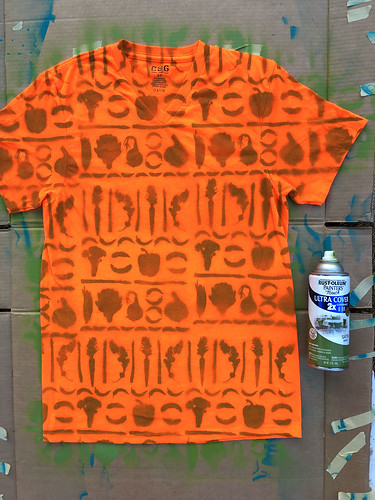
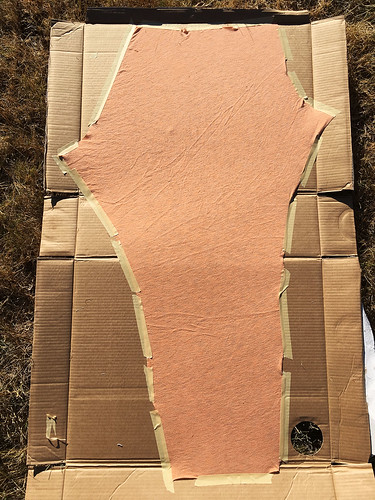
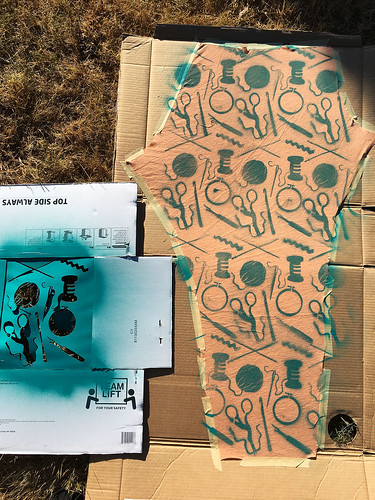
I made a few bucket hats for myself, wore them a ton in the summer, and then went wild making bucket hats for Christmas gifts for my entire family! So fun!
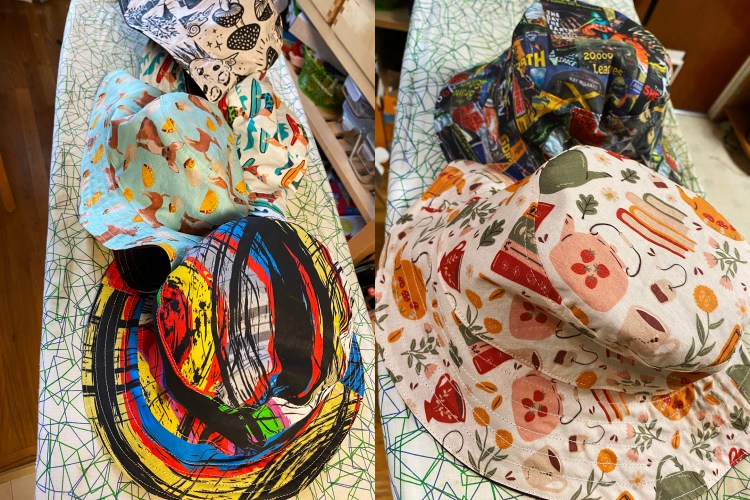
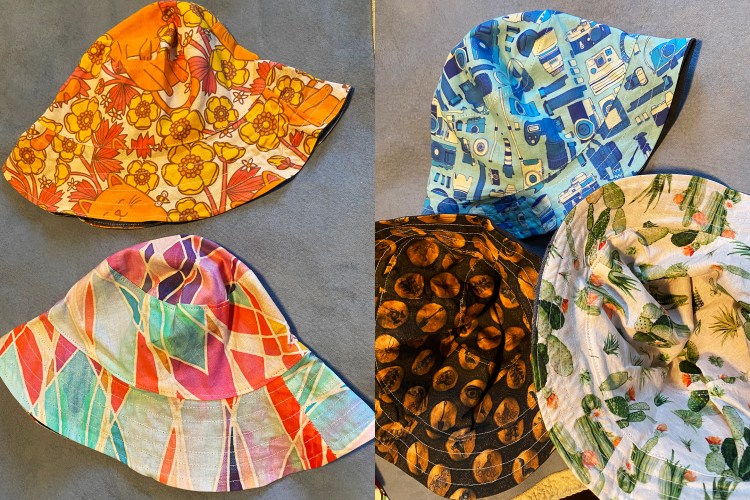
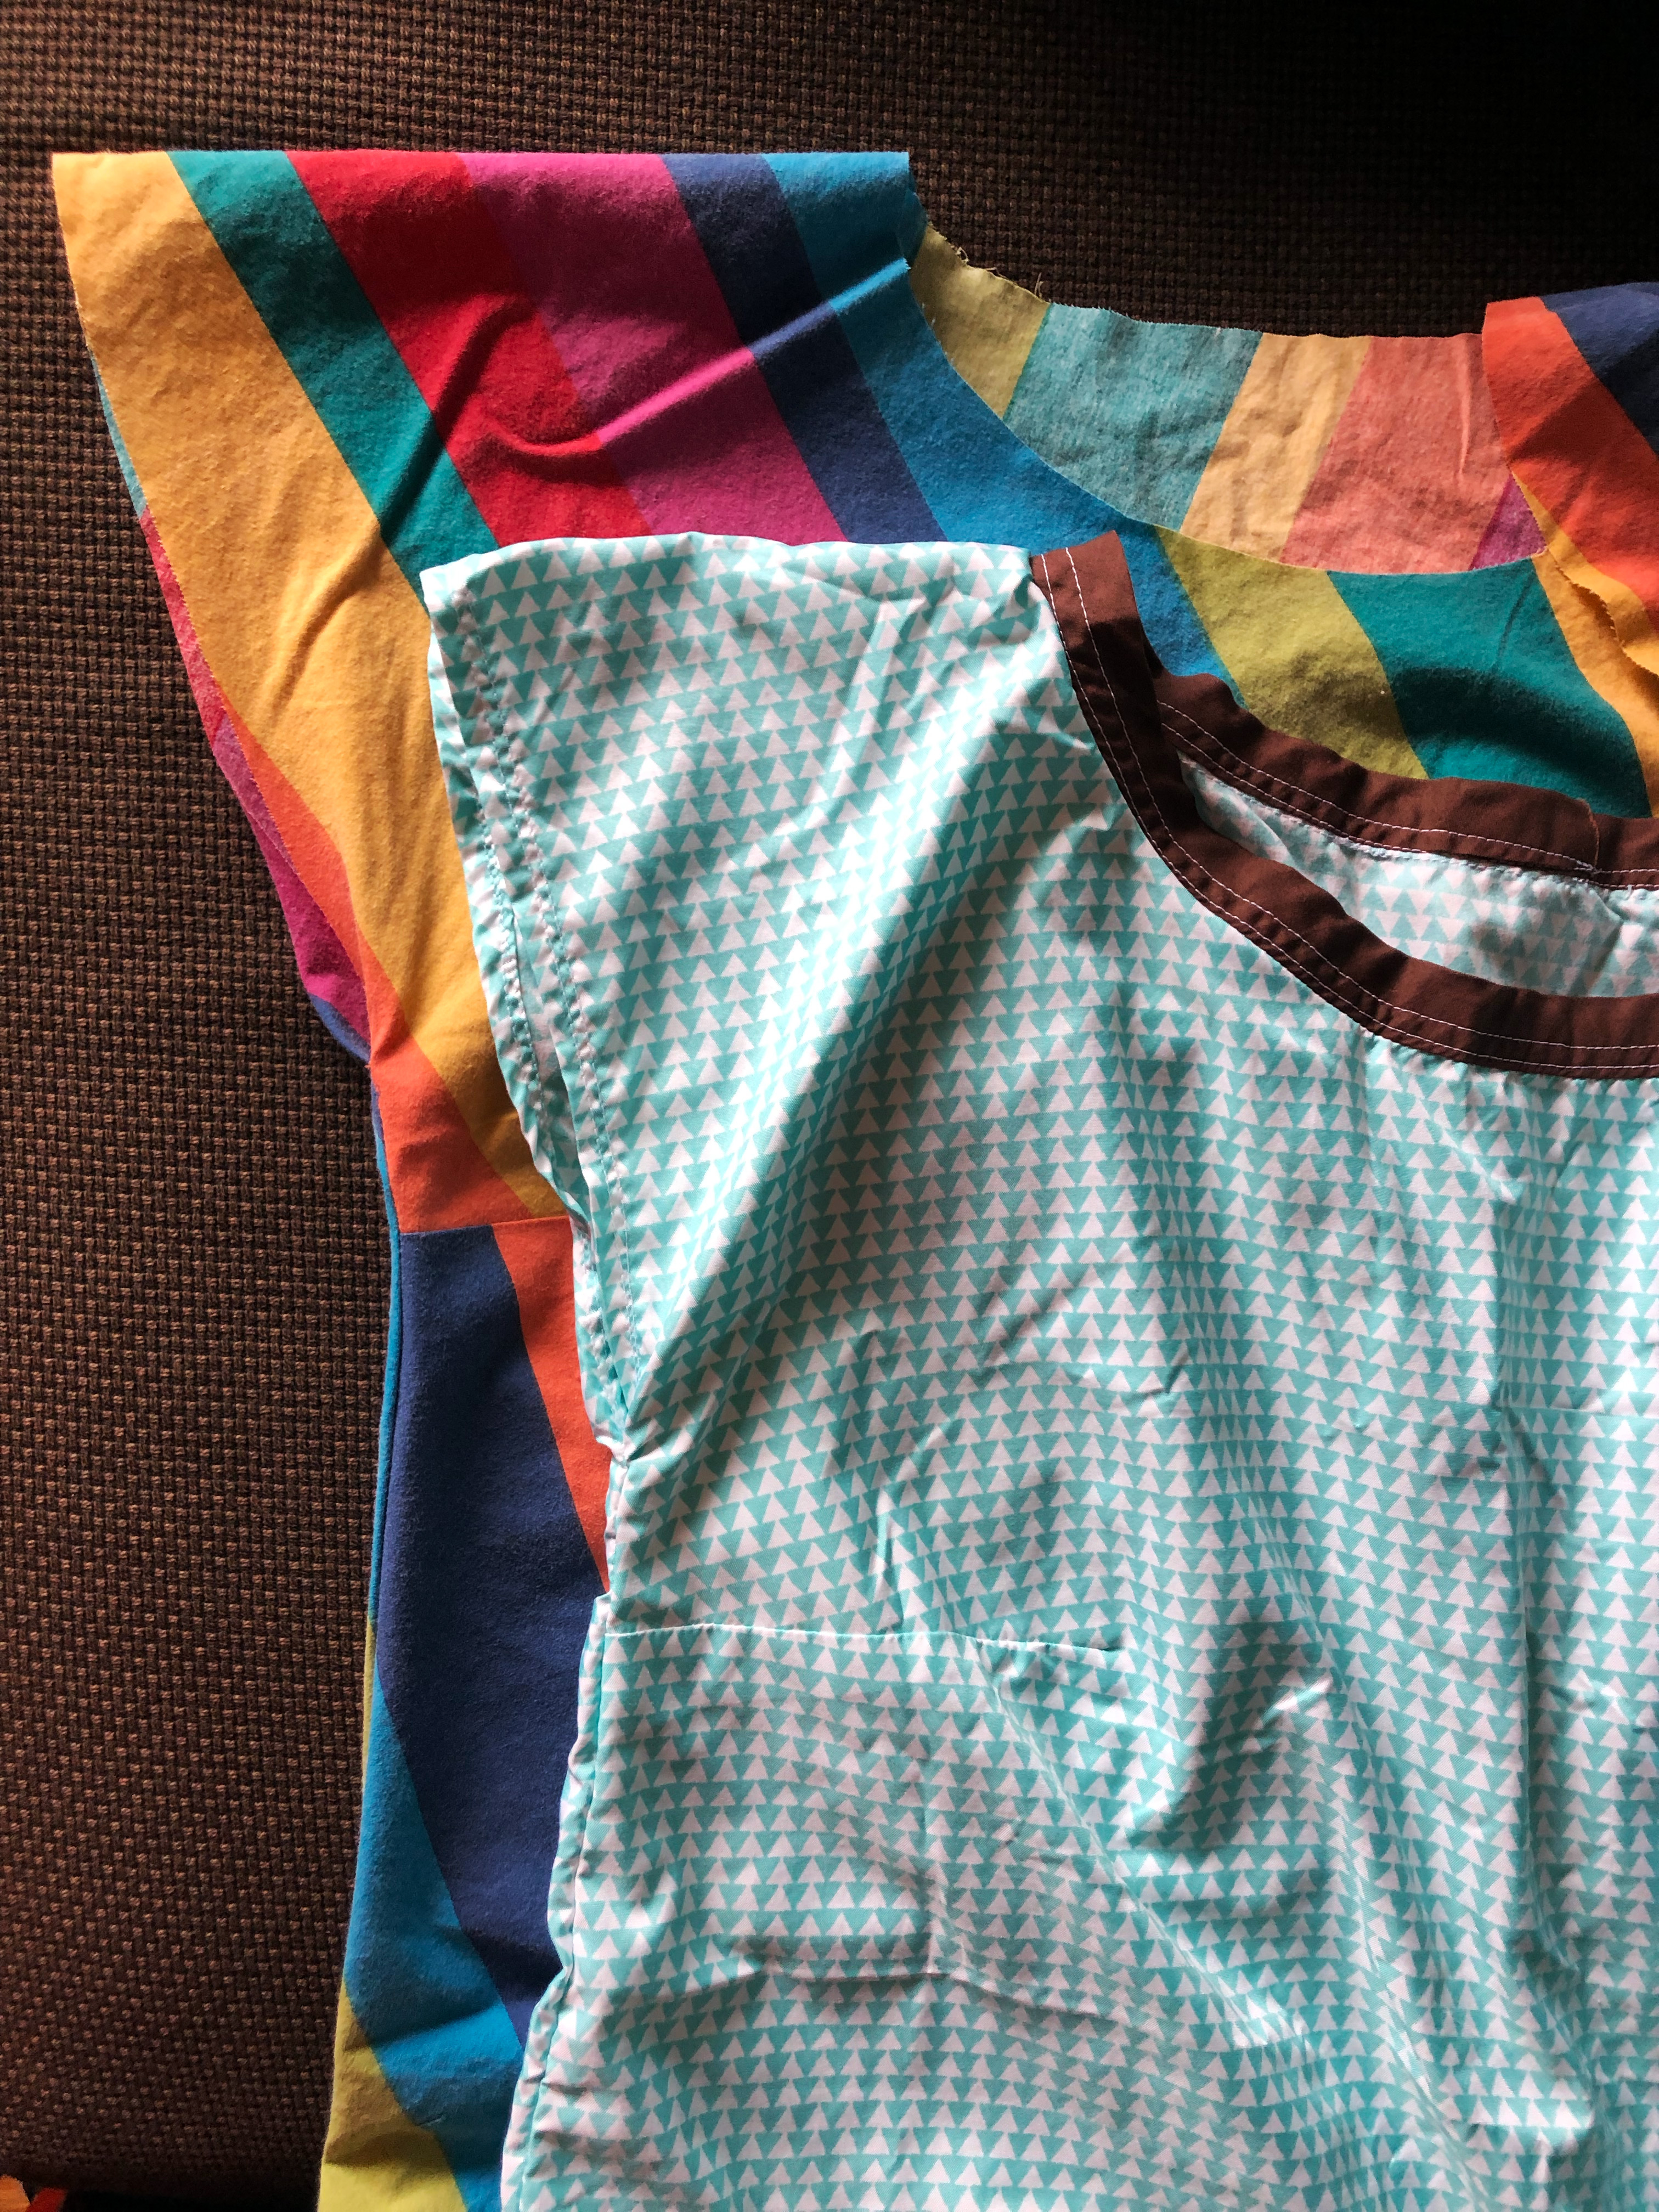
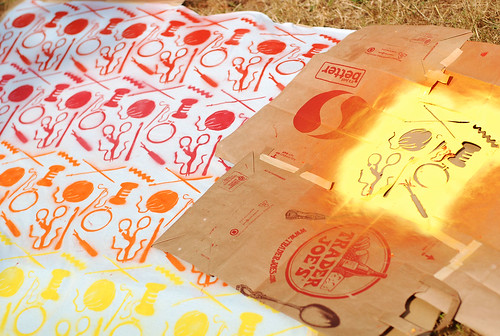
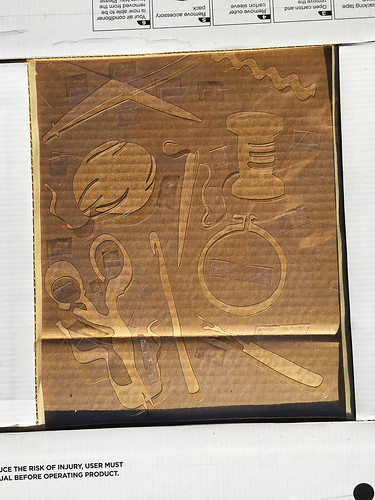
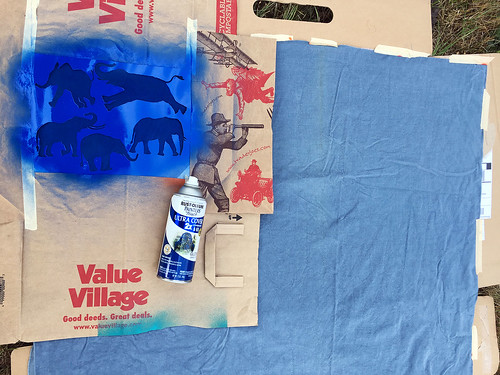
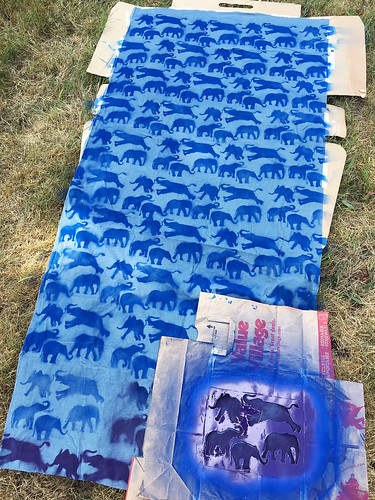
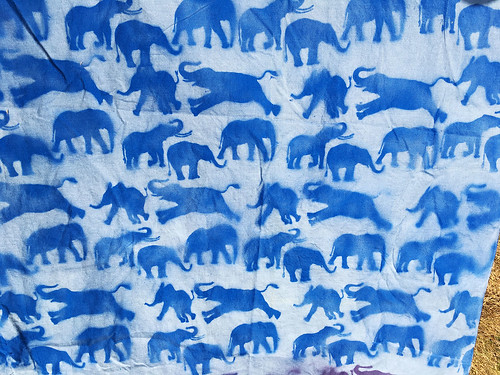
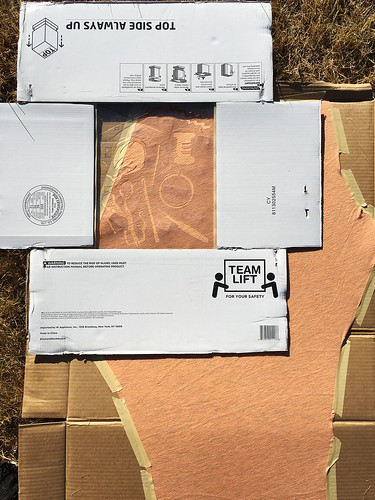
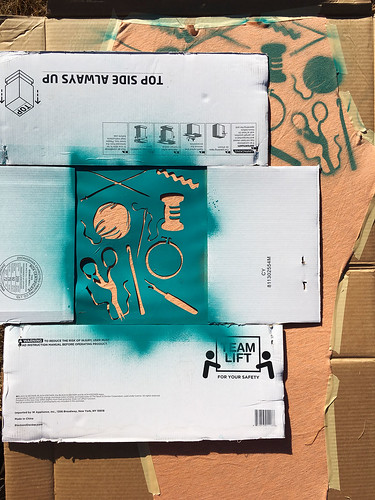
I custom-picked the fabric for each person’s hat from Spoonflower, and used thrifted fabrics for the solid-color sides. They are all reversible and have plain solid neutrals on the other sides.
I think that covers everything I sewed all year (except my Halloween costume, which I mentioned at the end of my last blog post), but I did buy some fabric throughout the year, so I REALLY plan to get back into regular garment sewing in 2024! For real!
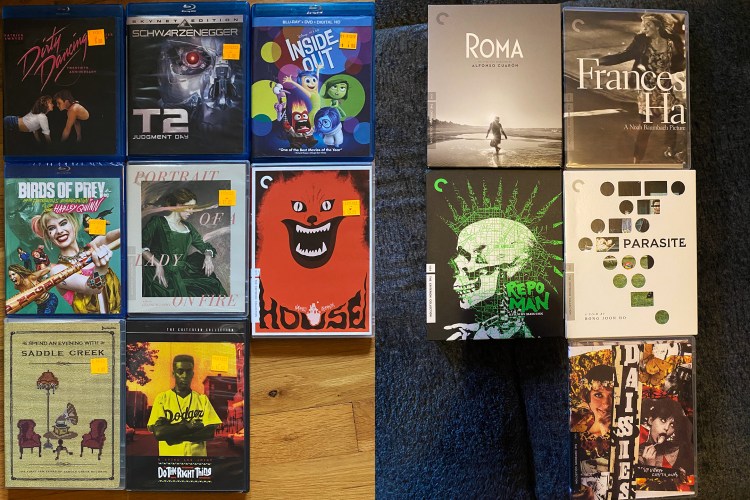
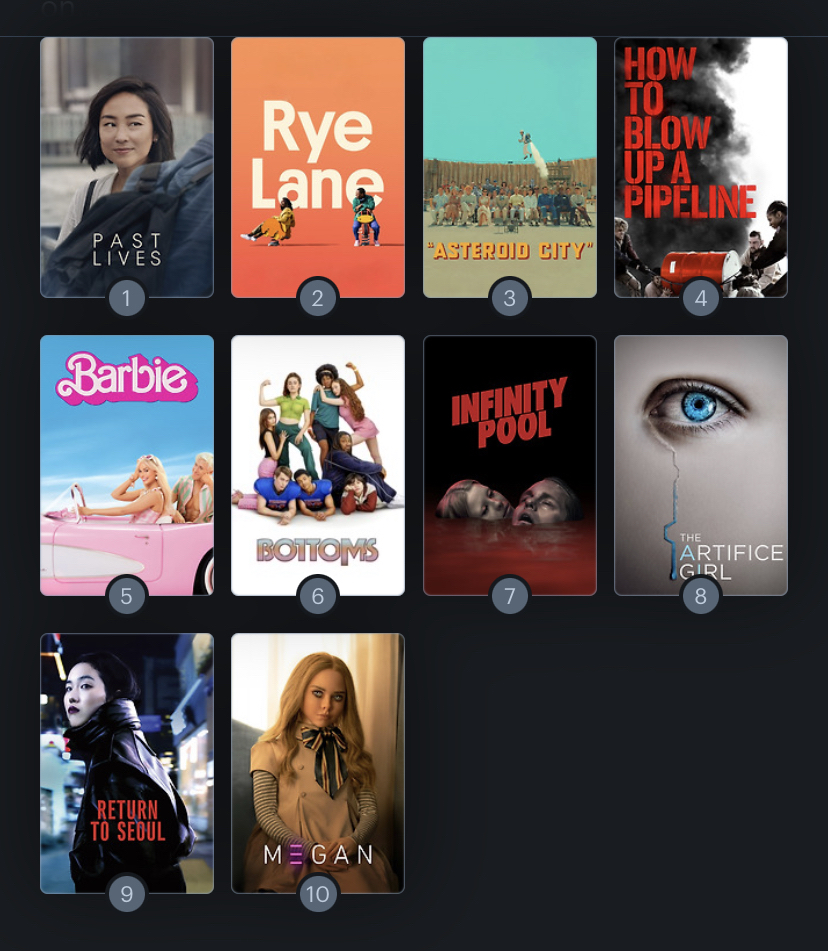
I talked A LOT about movie stuff in my last two posts so I won’t spend much time on that, but this was definitely the year I got REALLY back into movies, spending a ton of time watching them, shopping for blu rays / DVDs, keeping up my Letterboxd, etc. A major hobby of 2023 for sure.

I was also still really into cooking as a hobby (which I got REALLY into in late 2021 and have been ever since), as well as gardening in the summer months, which I link with cooking since I garden for the food. 2022 was the first year I got REALLY into gardening, built a big raised bed and another smaller bed, sewed a bunch of fabric grow bags, woodchipped the whole garden, etc. In 2023 I built another smaller raised bed and sewed more bags and expanded what I grew.
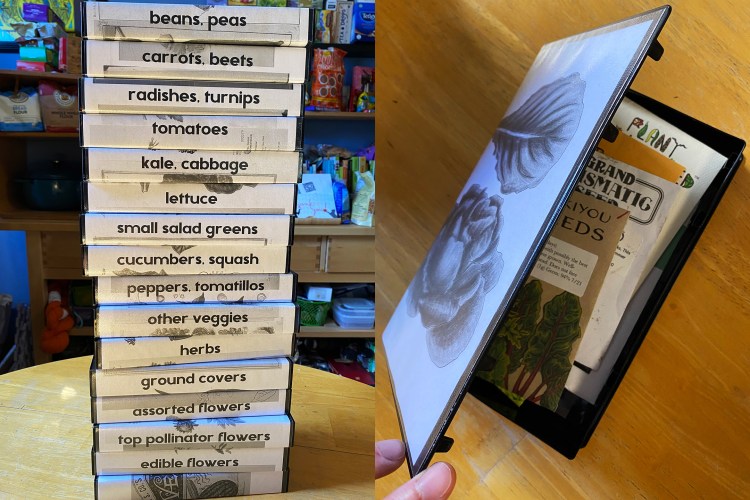
I grew almost everything from seed, with a whole seed-starting station in the house with three grow lights. So fun to start with a tiny seed and watch what it becomes!! I did this fun seed-organizing project too, using VHS cases! (More on instagram about that.)
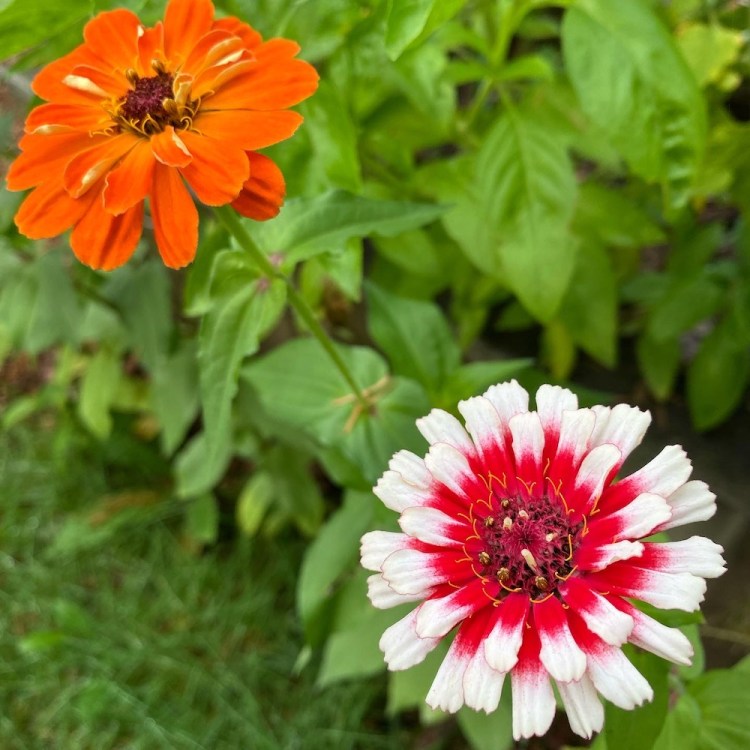
I also got more into growing flowers than I had before, because I learned how important it is for flowers to attract the bees and other pollinators who will then pollinate the food plants, so it’s all connected and also zinnias are so pretty!
Gardening has been a frustrating hobby for me, since my yard gets A LOT of shade thanks to some very large trees, so between that and the slugs and squirrels and aphids, I have a lot of factors I have little to no control over making it hard to be successful.
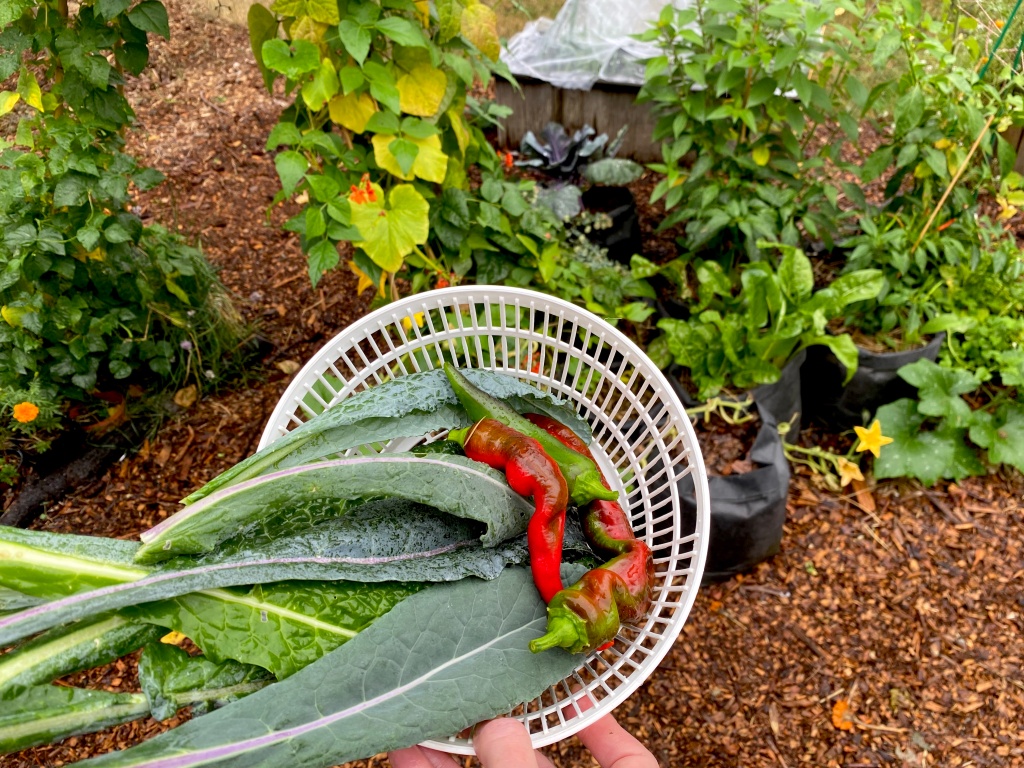
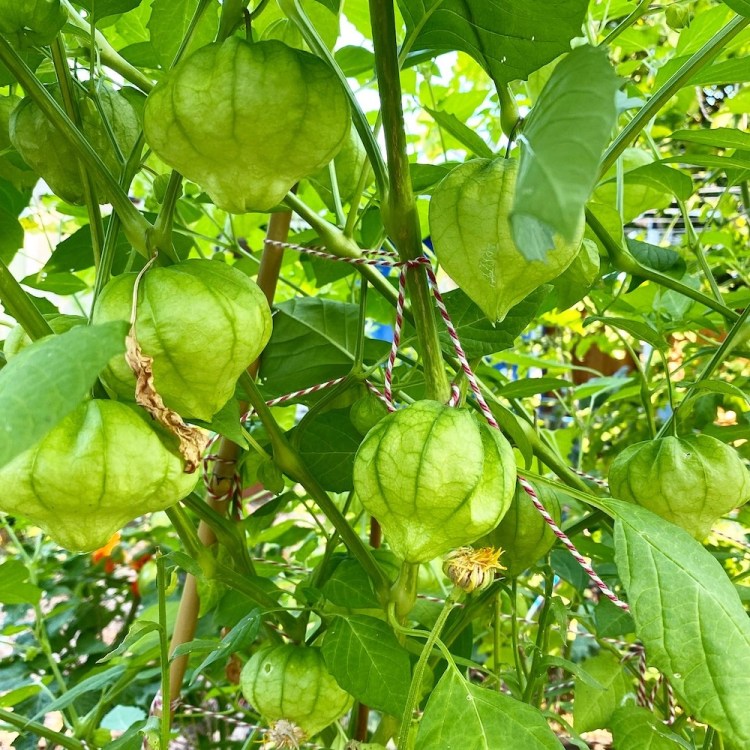
With all that, I still managed to grow a good amount of tomatoes (15 different types!), peppers, beans, tomatillos, greens… and a much smaller amount of squash, cucumbers, carrots, beets, potatoes… and even now in January I’m still eating kale, leeks, and some herbs fresh from the garden!

This year, I plan to focus on the things I most like to eat, and the things that have been relatively easy in my experience, and not try to grow ALL THE THINGS. Easier said than done… it’s always so enticing in the spring to start ALL THE SEEDS when they are tiny seed-starting cells and it feels so low-commitment. Then summer comes and things are taking up space that aren’t all looking healthy and I don’t even love to eat some of the things and it feels very silly to be nurturing plants like that but I’ve done this to myself. Sigh.

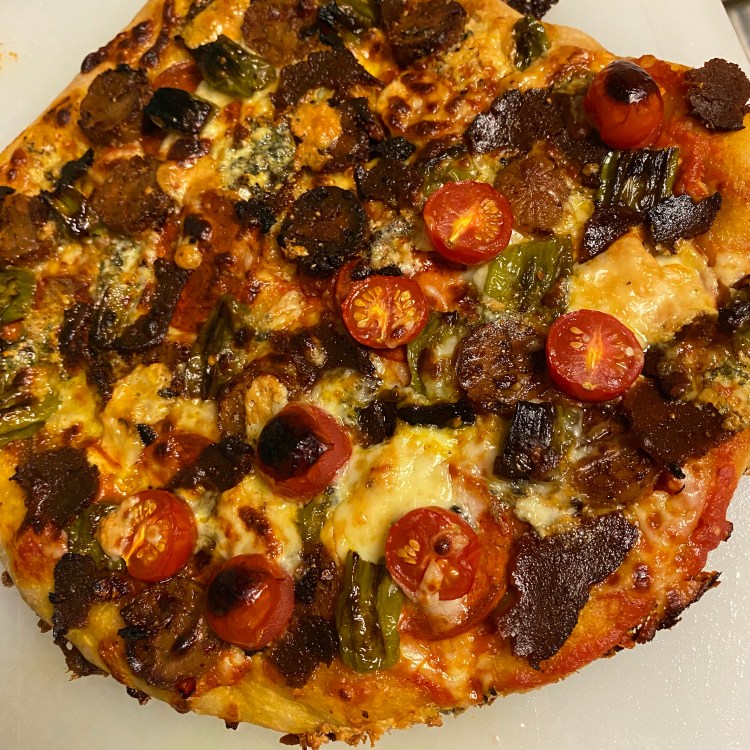
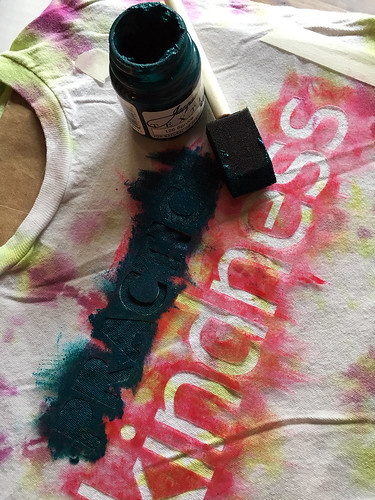
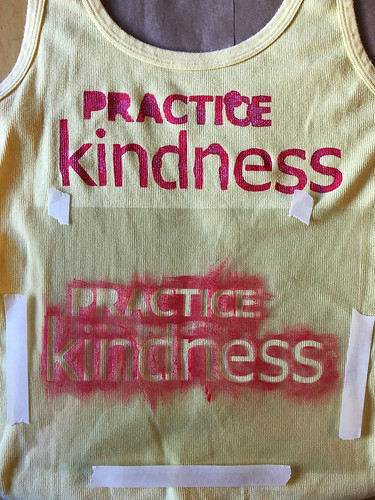
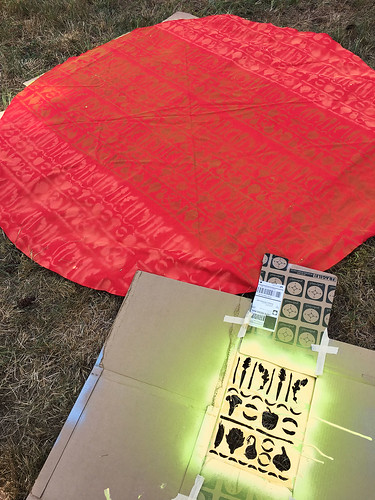
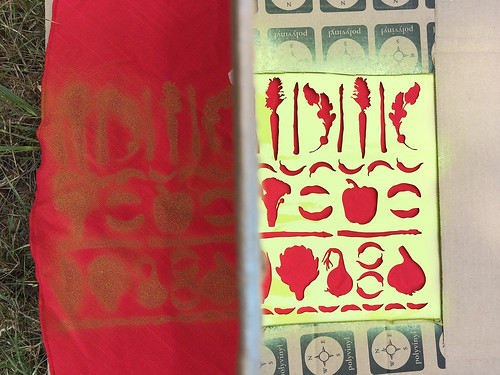
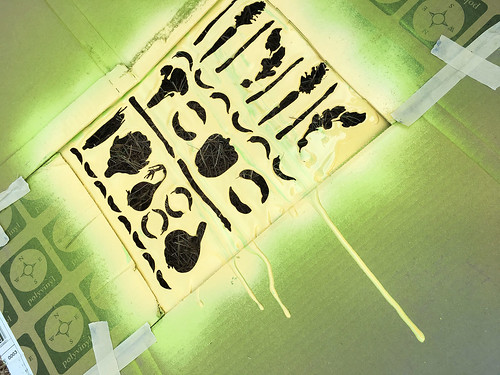
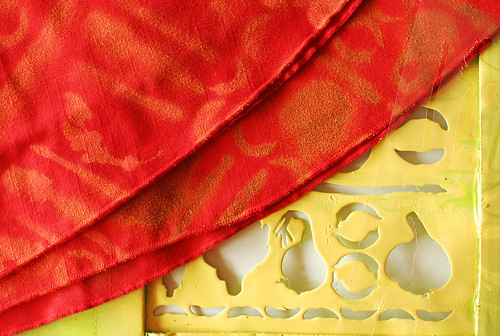
And then in 2023 I made a lot of delicious foods! I’ll just show you the things that I made for the first time in 2023, to keep things limited. I made hot sauce using very hot peppers from my farm share. It turned out TOO HOT for me, so I separated it into 2 bottles, the super hot one for Pete to use, and I blended the rest with a peach and it worked so well! Delicious!
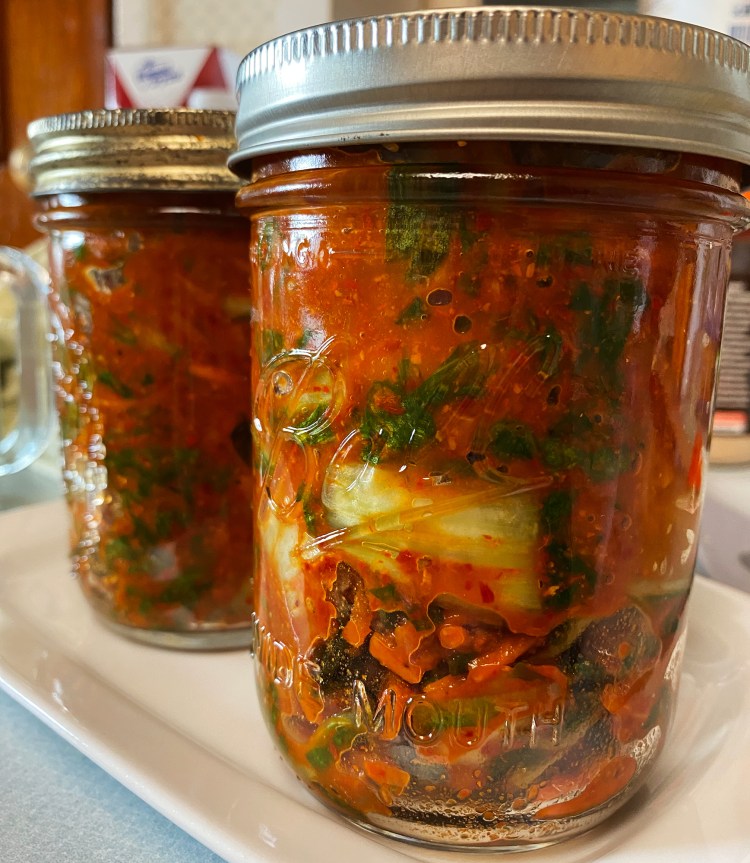
I made kimchi for the first time using napa cabbage leaves that I grew! My cabbages didn’t form heads, but the leaves still worked, and the kimchi was great!

I made nocino using green walnuts from my friend Anna’s yard. I made two kinds, one with lots of added spices, and the other with only cinnamon sticks and nothing else. As of late December, the cinnamon-only batch tasted good and the other one did not, but I’m leaving it to sit for longer and hoping it tastes better after more time!

I got very into soups in the fall and winter! I used leeks that I grew to make potato leek soup and it was soooo good, and I made pozole verde using tomatillos I grew (and soy curls as the “chicken”) and I loved it so much!! Will definitely make again, an excellent way to use tomatillos!
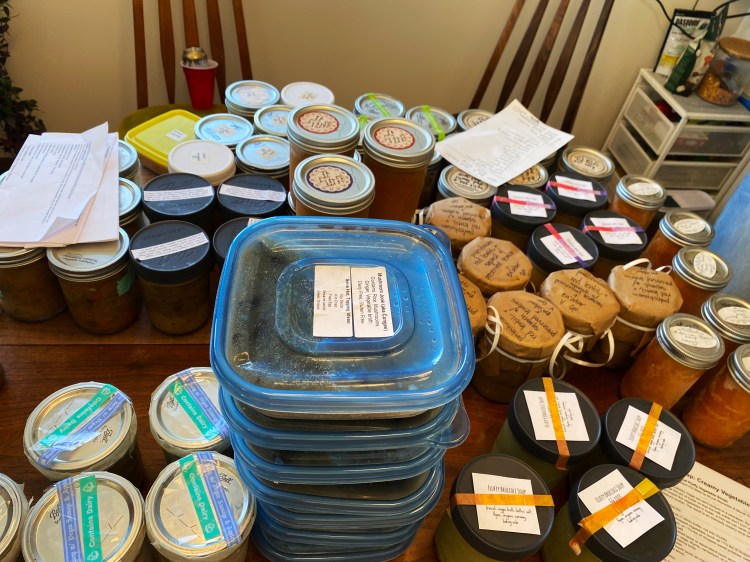
I made a vegan corn chowder for my annual soup swap, which was very fun as always. This year’s soup swap is coming up soon and I’m thinking I’m gonna make a pumpkin-beer-cheese soup with black beans that I tried recently and was delicious.
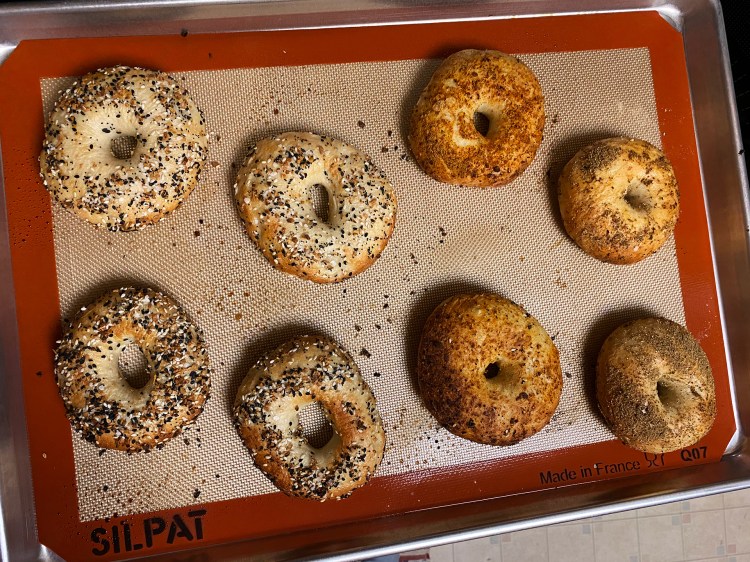
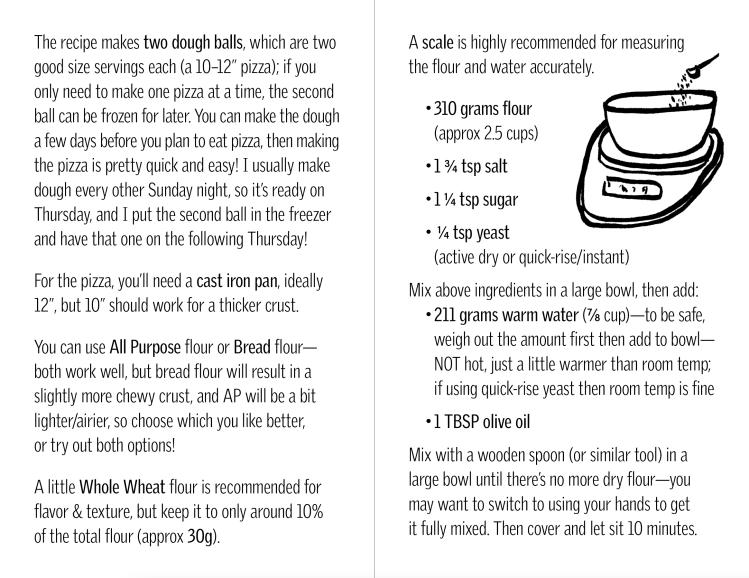
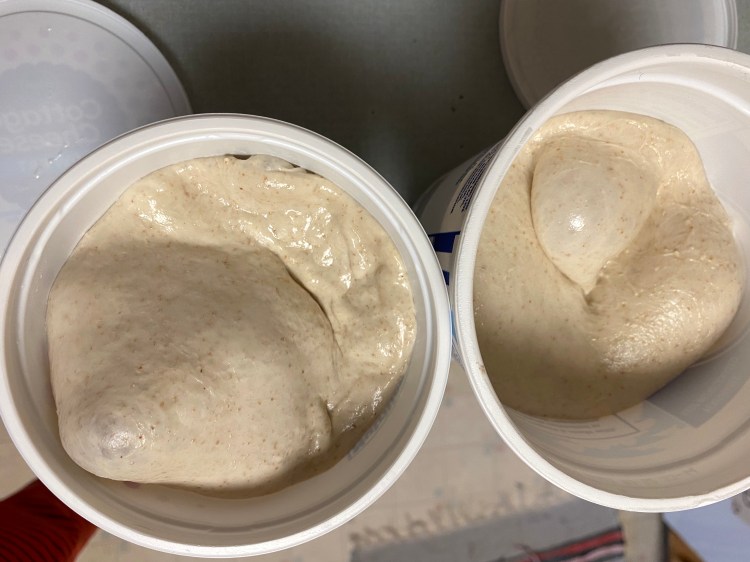
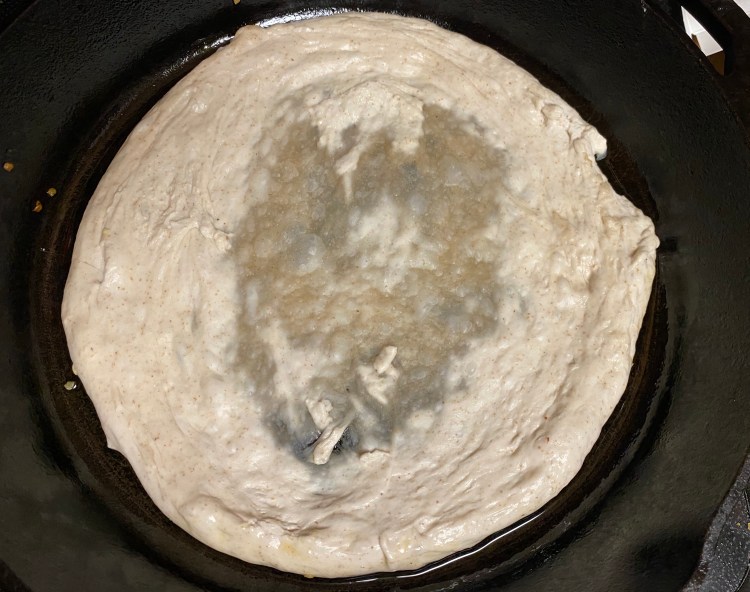
I made bagels! They were soo good. I need to make them again. They were surprisingly pretty easy to make; the hardest/most annoying/messiest part was adding the toppings so I had a plan to make them again without toppings, maybe just adding something to the dough itself instead. But I still haven’t done it, oops. I will soon!
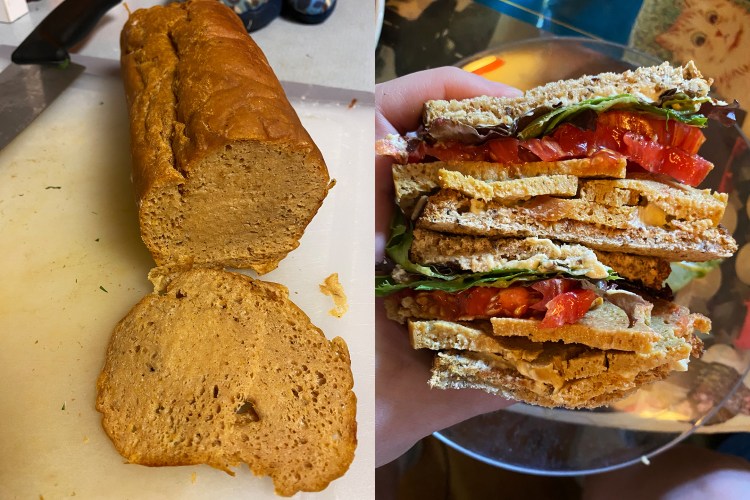
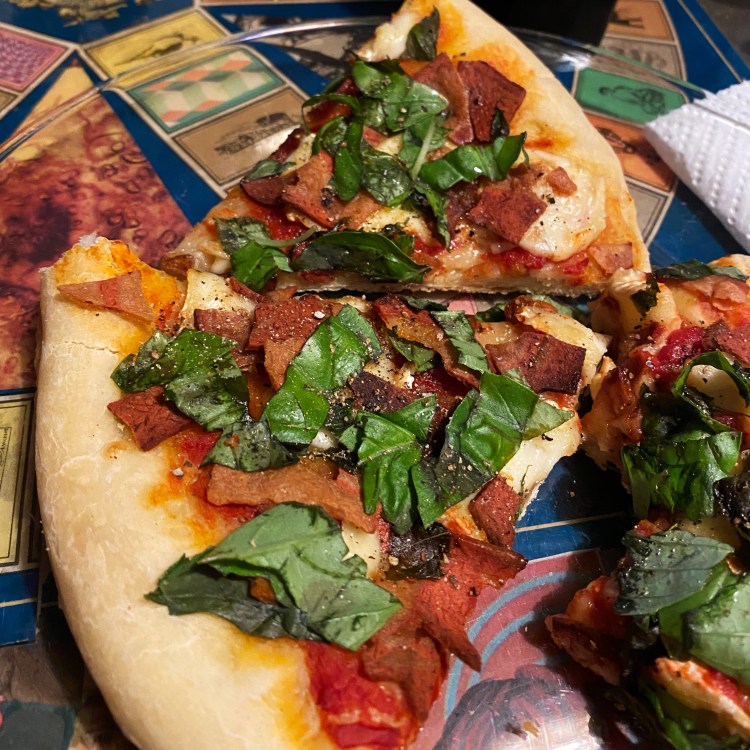
I made deli “meat”! I’m a big fake-meat lover, so I wanted to try this recipe, but it turned out a little disappointing. Very airy, like a spongy texture, almost. I still enjoyed eating sandwiches with it, but I’d try a different recipe next time.
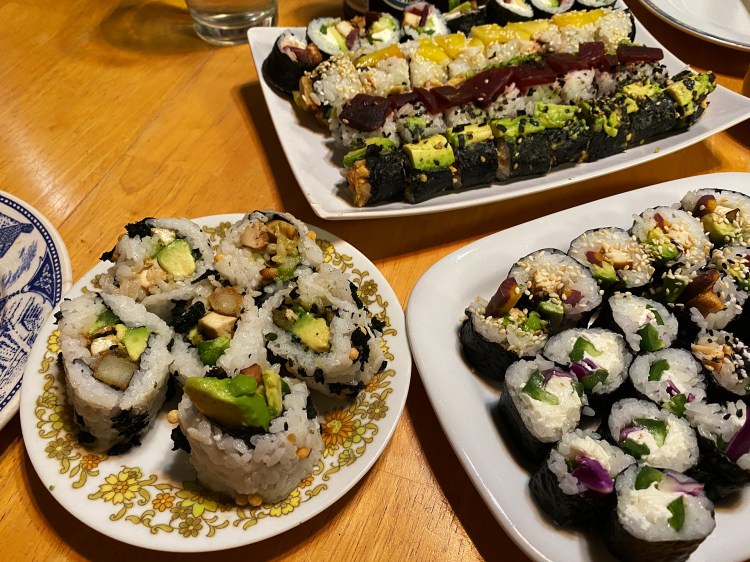
I started 2023 by making sushi rolls on New Years Day! It was a serious project, took many hours total, but was delicious and fun to eat and worth it to do once in awhile as a treat. I did it again in October, but not quite as many rolls or different fillings that time. I did mostly no-fish rolls—I think I used one can of smoked salmon but that was the only fish. I made chickpea-based and tofu-based imitation crab salad kinda things, and then just lots of different veggies, teriyaki tofu, cream cheese, etc.
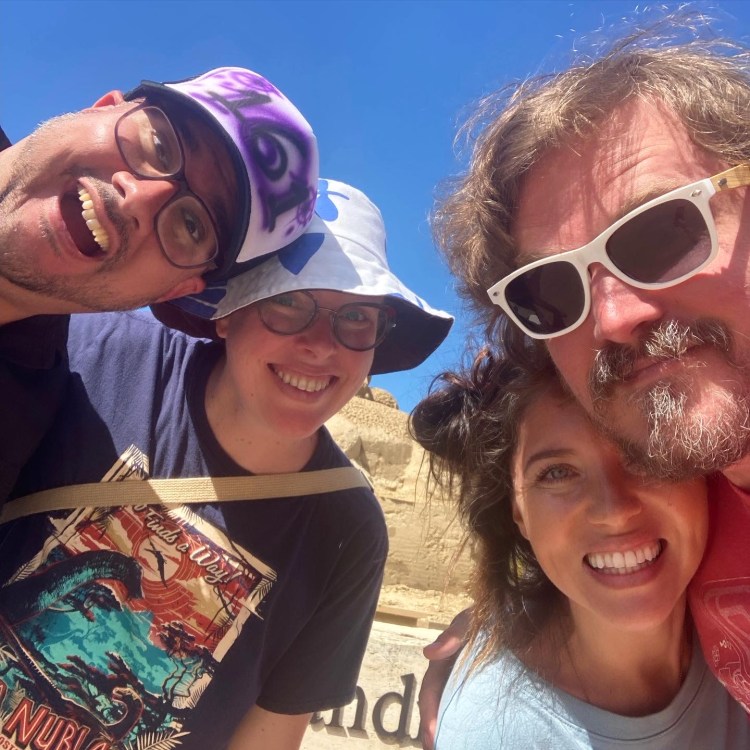
As for other things besides making… I took a trip to Des Moines (to visit my brother and now-sister-in-law) and Chicago (just for vacation, my first time there) and it was great! Above is Pete, me, Renée, and Matt at the Iowa State Fair, which was very weird and had a lot of tasty food!
I got to meet and hang out with Renée’s kids which was the best part of the trip—they are awesome kids, and I’m so happy they are now part of my family!! Matt met Renée in… 2018? 2017? But they lived in different states, then he moved from California to Iowa in 2020 (I think? time is blurry) and this was my first time seeing his new home and meeting his family so it was a long time coming and a fantastic time!

So then since we were taking the trip out to the midwest, and we had the vacation days, and we had friends taking care of the cats and garden, we decided to also go to Chicago. It was a long trip, around 5 days in Iowa and 5 days in Chicago, some of those being partially travel days, so it was basically 2 very different vacations back-to-back, which was A LOT after not having traveled since 2019. But no regrets, it was worth it, just exhausting!

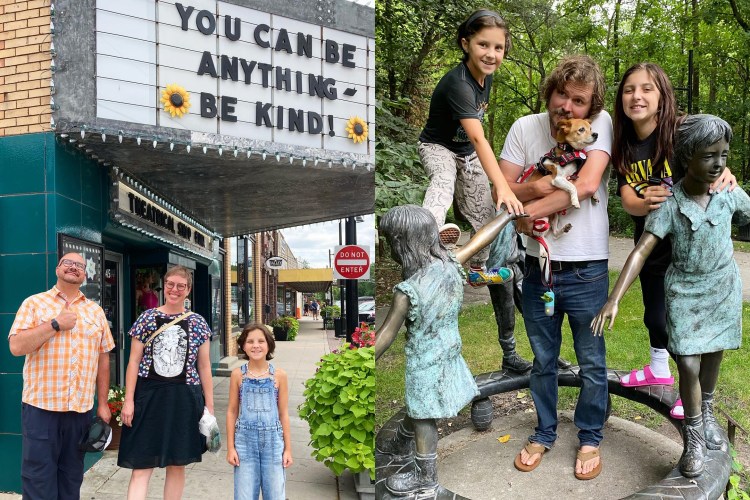
In Chicago, we tried to explore as many different neighborhoods as possible during our time there. Our favorites were Pilsen and Avondale; there were so many cool spots, stores, museums, etc, all over the city. Above is the Haymarket memorial statue, very cool to see. I posted more photos and wrote more details about where we went and stuff on instagram if you’re interested: day 0 (just there in the evening/night) and day 1, day 2, day 3, day 4.

A few months before our big trip, to test out being away from the cats overnight (because we got them in summer 2019 and had never left them alone for a single night!!) we took a one-night trip to Bend and the Painted Hills, beautiful!

A highlight was that the last remaining Blockbuster is in Bend, so fun! It’s a fully functioning Blockbuster, just like the one I worked at in college (2003-2004 in San Diego) but it also has some kind of museum display stuff on one side. I bought a couple of previously-rented DVDs and a mug as souvenirs. So silly to think it was just my workplace 20 years ago and now it’s this novelty.
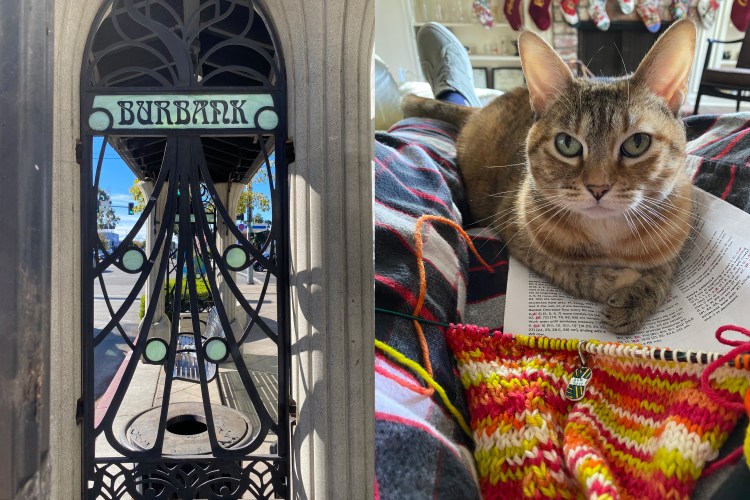
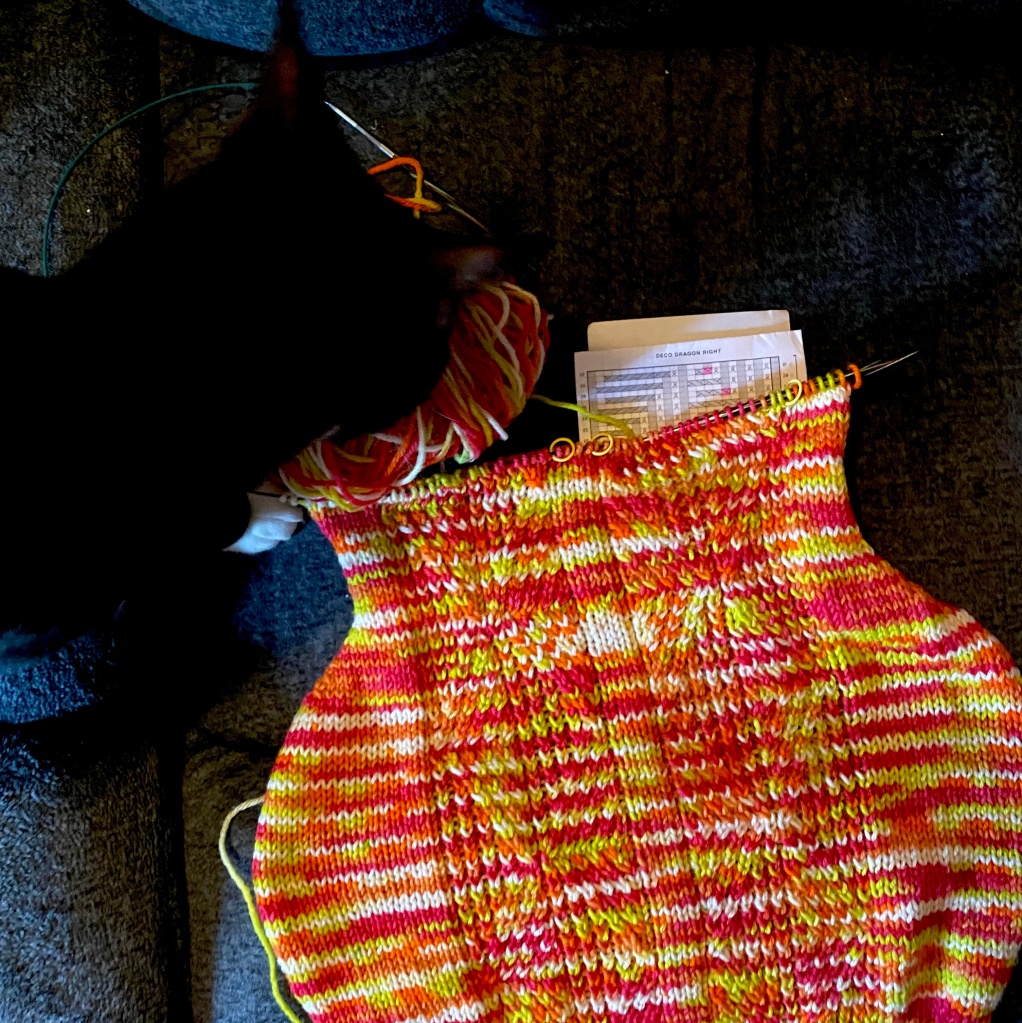
I also took a trip in December down to Burbank to hang out with my parents and see my other two brothers. I got some knitting done with Gracie the cat supervising. Ate some good California Mexican food, yum!
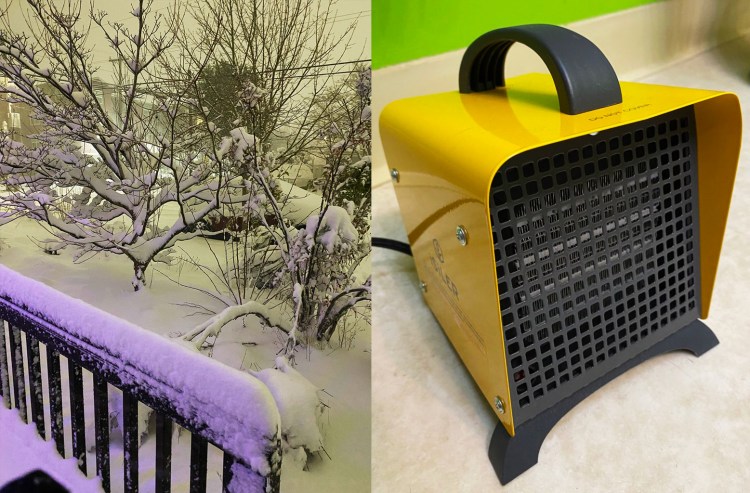
Thinking back on 2023, a few hard times stand tall in my memories… first, in February, on the day Portland got the second most snowfall in one day in all of recorded history, our old furnace broke and, after a series of events involving a despicable company and then a very good company, we ended up being without a working furnace for (I think…) about 10 days. Thank goodness for space heaters and electric blankets! We were okay but it was a very stressful time. If you’re in Portland, never ever ever consider using Pyramid Heating, and I do highly recommend Three Rivers Heating.
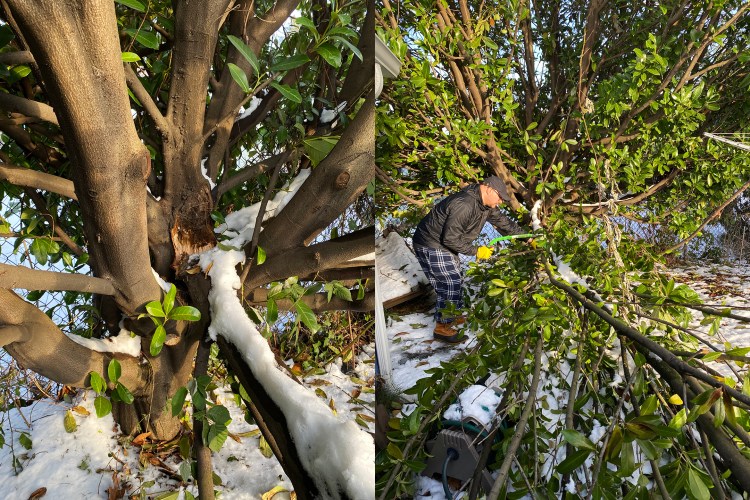
Then the day after we lost heat in the snow storm (or possibly late that night), a tree (okay, a big chunk of tree, but it was the size of a small tree!) fell on our house in the back yard. It didn’t do any damage, but it was a whole other thing to deal with during an already stressful time. That’s a week I’d never want to relive.
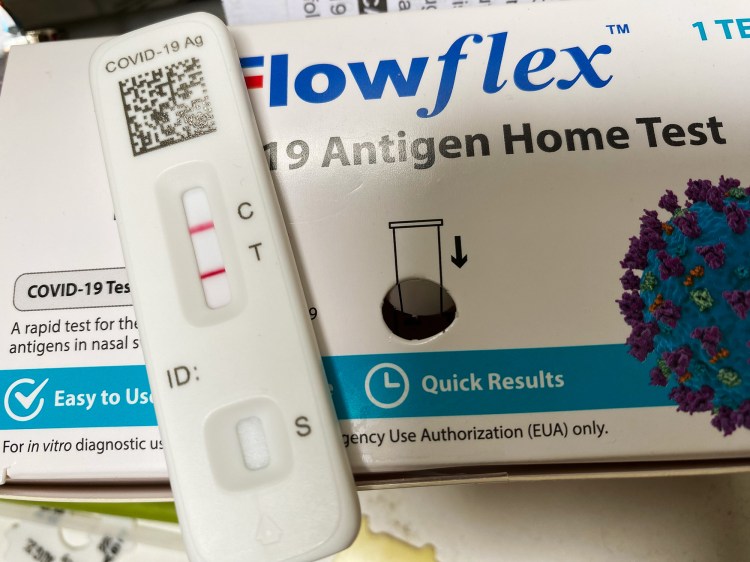
And lastly, speaking of times I’d never want to relive, in October we both got covid for the first time. My first symptom was 100 days ago today as I’m writing this, and I’m happy to say I feel very close to 100% of my old self now. I think I crossed a line around New Years Day… For most of December, I was still coughing almost every day, getting tired more easily, etc, but I think the last time I had to use the inhaler I was prescribed was mid-December, and for the last couple of weeks I have not been coughing at all most days.
Anyway, moving backwards, we managed not to get covid until then with a combination of very good luck, always masking indoors, never eating inside restaurants, and avoiding high-risk situations. We took these precautions on our midwest trip and made it home safely and healthy. But masks and luck will only take you so far, and Pete finally brought it home from the office at the beginning of October. Both of our first symptom was a very sudden bad stomach ache; his on October 5th and mine late on the night of October 7th. Because no other symptoms came with the stomach ache at first, we figured it was something we ate and had no reason to think it was covid. But then he had his first flu-like symptoms on October 8th, felt worse on the 9th, and then I started feeling it on the 10th, and that’s the day he tested positive. So, it was clear based on that that he was the one who got it first and gave it to me, and that he was carrying it and likely very contagious without knowing on the 6th-8th… which was important because we went to a party on the 7th! Because we always mask indoors, we stayed in the outdoors section of the party the whole time, except to go inside to grab food, where we masked. Of course we were two of the only people who put masks on to go inside, but hey, turns out we would’ve probably given covid to a bunch of people if we weren’t, so yeah. As far as I know (and of course I told the party host and my friends who were there!) no one got covid at that party. Masks are good, wear them, they work, they kept us healthy for almost 4 years, and they kept others safe from us as well.
And because that paragraph was so long, I’ll repeat that both of us had sudden stomach aches as our first symptom, 2+ days before other symptoms, so if you think you may have had an exposure and you have a weird stomach ache out of nowhere, consider that a warning sign that you should stay home and avoid others for a few days just in case (or at least wear a mask!). After the main symptoms started, Pete was lucky and only felt very sick for a couple of days. He was already feeling much better by day 3 and then had some lingering cough and ickyness for maybe 2 weeks total but not bad at all. Me, on the other hand, I got much worse on the second day, and then worse again on the third day… I couldn’t eat anything, I couldn’t do anything. I called the doctor to try to get paxlovid I think on day 3 of main symptoms, couldn’t get through to anyone all day, got a video call appointment the next day, was told I didn’t qualify for paxlovid, but she prescribed me 4 other medications, for nausea, cough, respiratory. They helped somewhat (the nausea one helped A LOT since my biggest problem was not being able to eat) but I stayed very sick for quite a long time. I took a week off work completely, and then I managed to work from home for the next two weeks since I didn’t want to use all my time off but I was very foggy working for at least that first week. Once I tried doing anything other than sit on the couch, I would get very tired quickly… and then after like 4 full weeks I’d try doing things like go to the office for a day, or go to a fiber festival, and I’d have to fully rest the whole next day to recover. If I did two things in a row, like go to the office for a partial day, then stop at a grocery store on the way home, I’d feel so tired like I’d run a marathon by the end of it. So all throughout November and most of December I tried to have a rule for myself that I could do one thing per day. Like, go to a store, or go to the office, or cook a complex meal, etc, and pretty much rest the rest of the day. Like I said, finally around the end of December, I felt my body shift and I no longer get exhausted from doing two things in a row or whatever else. I’ve taken some long-ish walks recently and they’ve gone well. So I’m very relieved because after a couple months had gone by and I felt how I did, I was quite worried I might be stuck that way! I do think that forcing myself to rest as much as I did throughout those months helped my body to heal and return to normal.

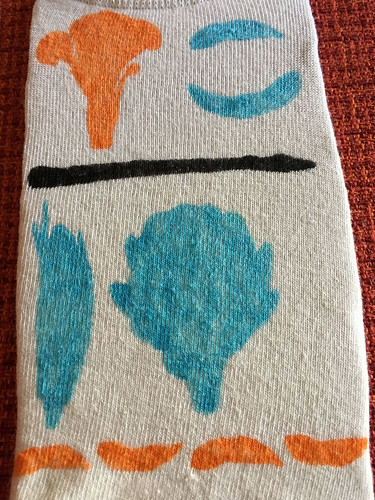
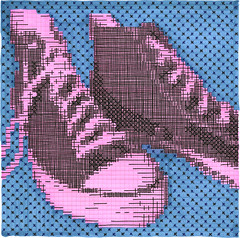
Phew, that was wordy and not so fun (so here’s a random photo of socks that I finished knitting early in the year) but I wanted to write about it! I am terrified of how my body might handle a second covid infection, so I will be continuing to live how I’ve been living for the last almost-4 years. I know I’m different from most people, but I do encourage anyone who read this far to think about how hard it is to wear a mask indoors versus how hard it would be to live with long covid. For me, it’s a non-issue. Wearing a mask is so easy and just totally normal now, even if I’m the only one in the room. Covid is still mysterious in so many ways because it’s so new, but a lot of experts, researchers, doctors are thinking about it as similar to HIV nowadays, in how it affects immune systems. People are getting basic colds now that last weeks and feel brutal because their immune systems are messed up from multiple covid infections. I very strongly believe that it’s in everyone’s best interest to avoid getting it as much as possible, so I’ll use this tiny platform to say that. I don’t plan to talk about it more on this blog unless there’s a reason to, but it was a major part of my 2023, so that’s that. Happy new year!